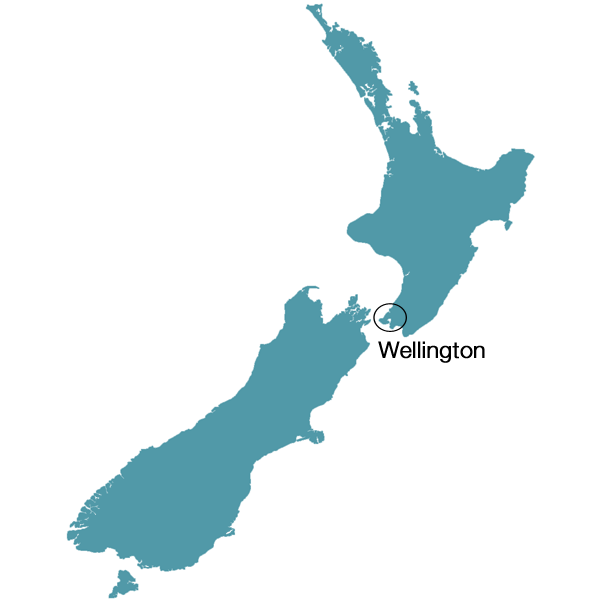
Wellington |

|
|
|
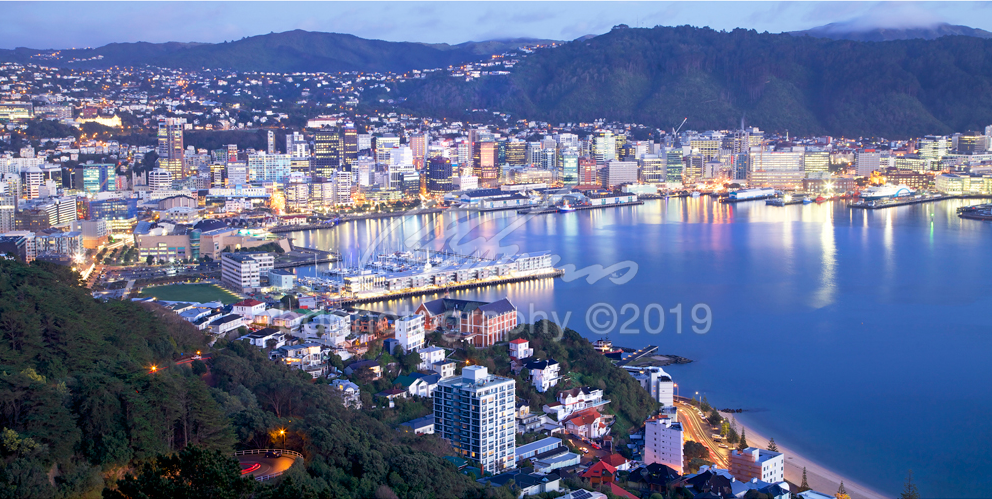
Wellington City Lights WEL71 - 2:1 ratio
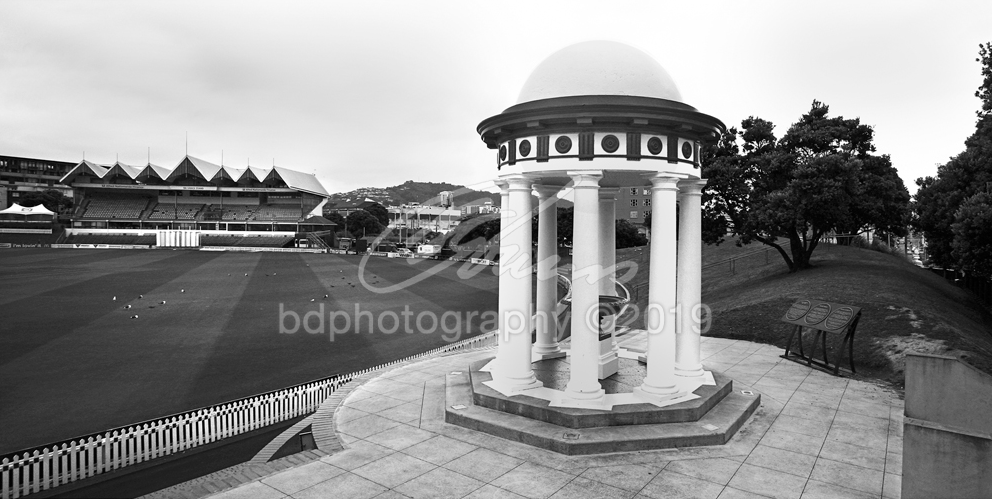
Basin Reserve WEL35 - 2:1 ratio
|
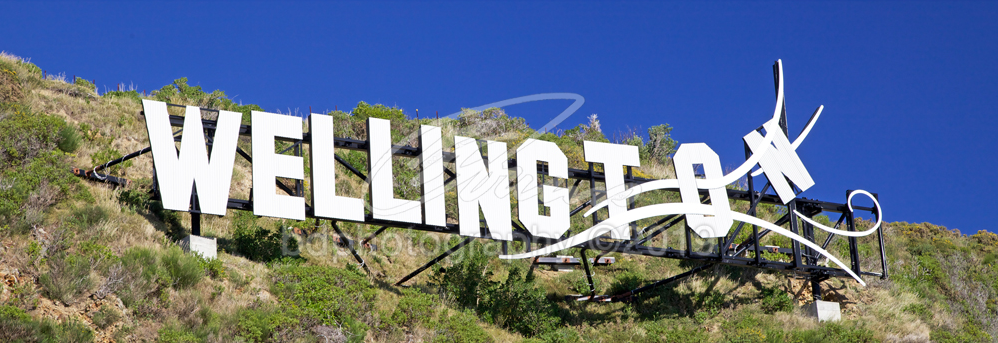
Wellington Sign WEL86P - 3:1 ratio
|

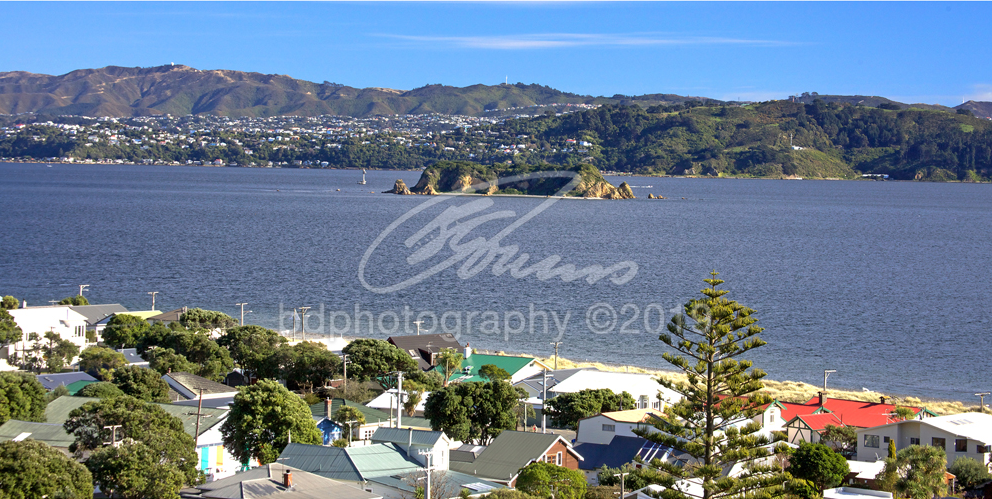
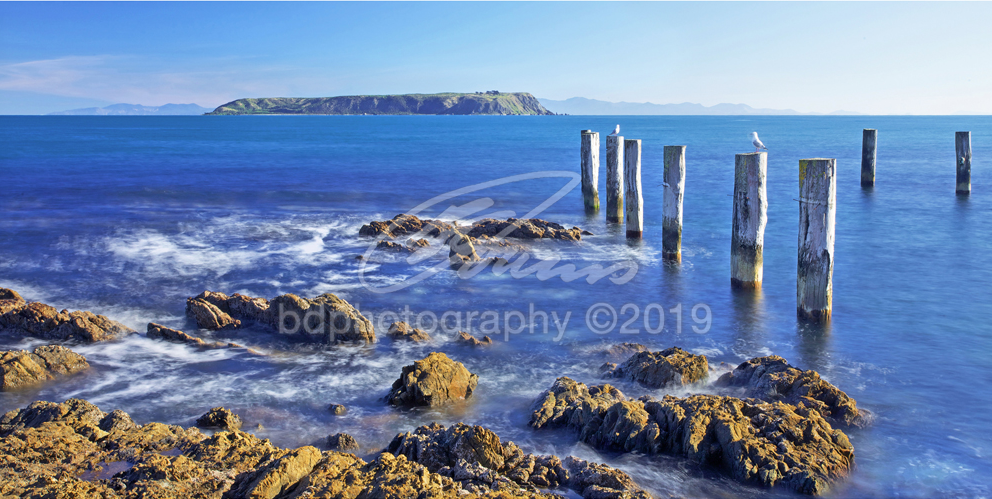
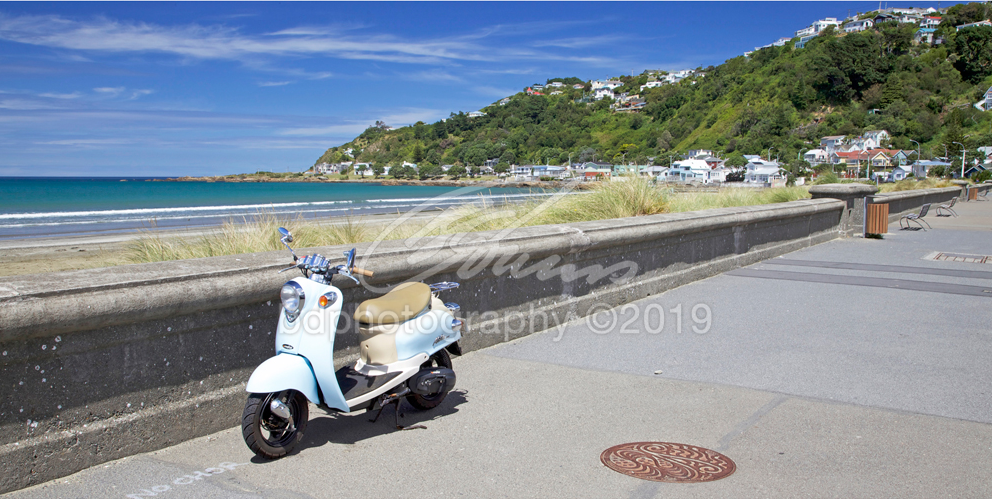
Island Bay WEL35P - 3:1 ratio
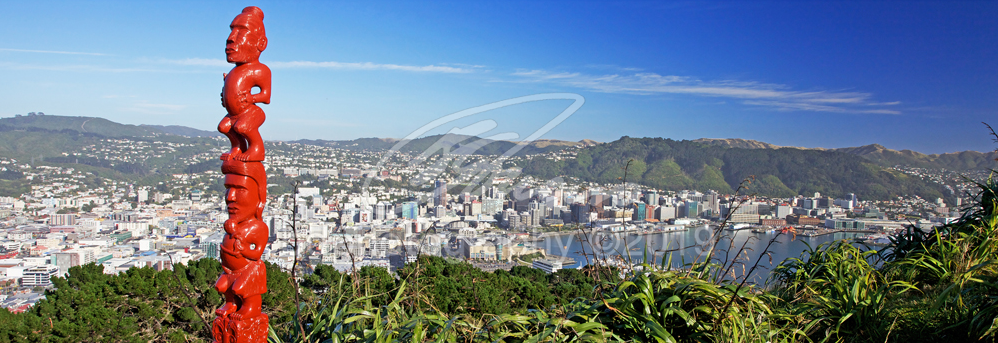
Mt Victoria WEL45 - 2:1 ratio
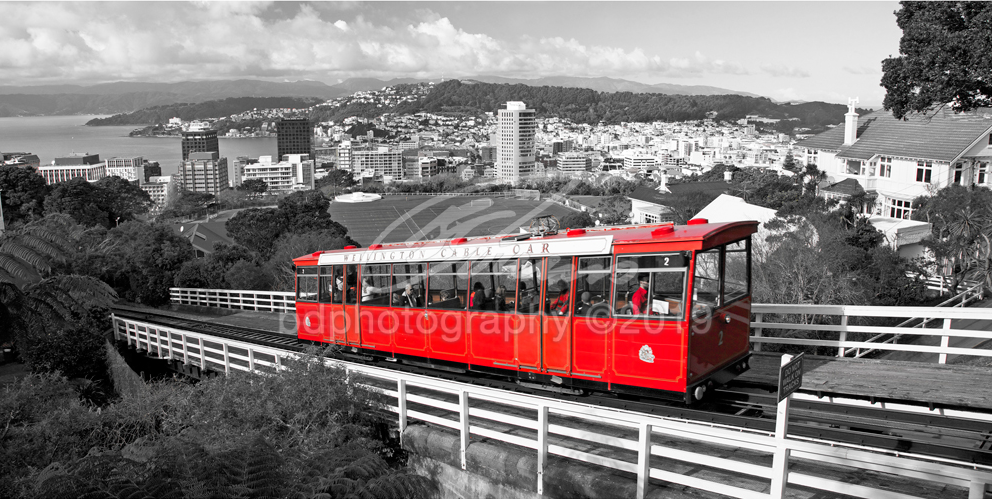
Wellington Cable Car WEL89 - 2:1 ratio
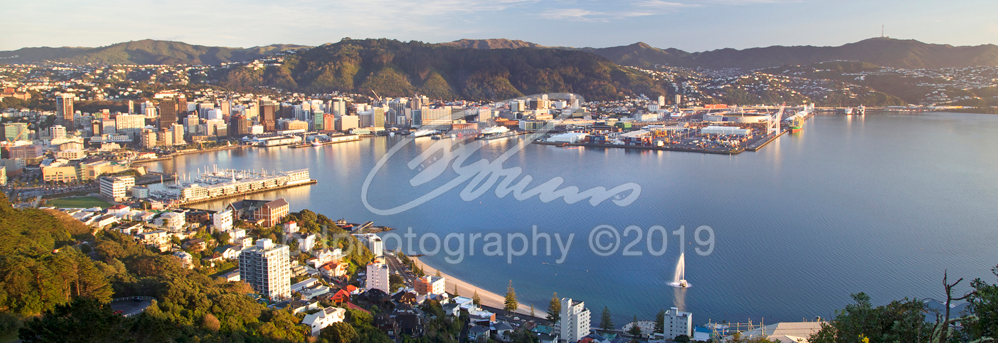
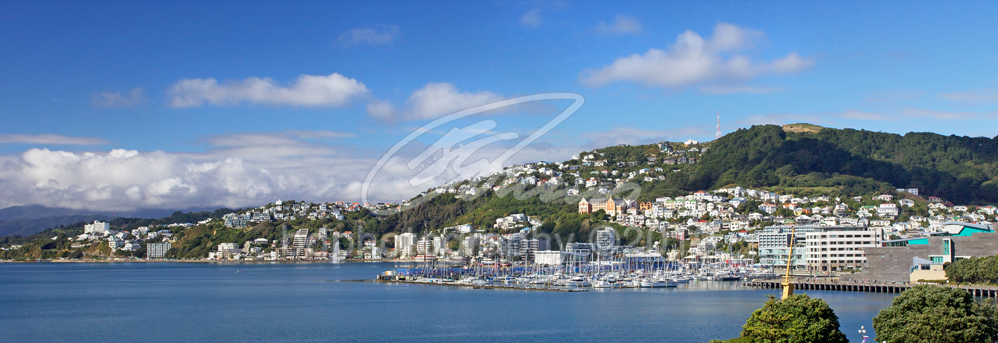
Wellington City WEL85P - 3:1 ratio
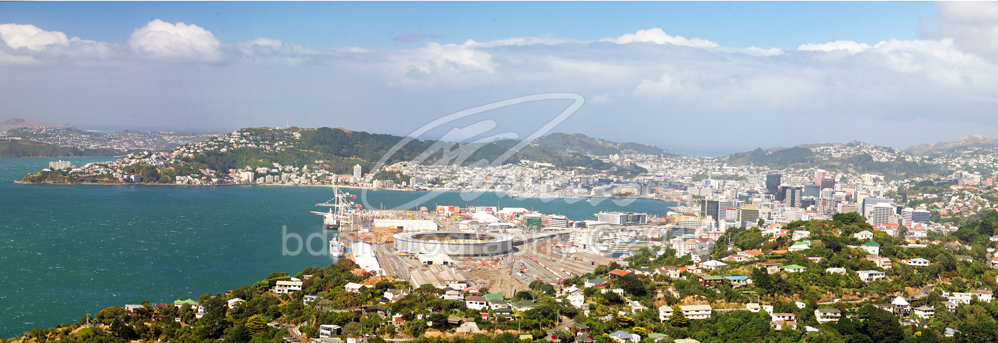
Wellington WEL43P - 3:1 ratio
|
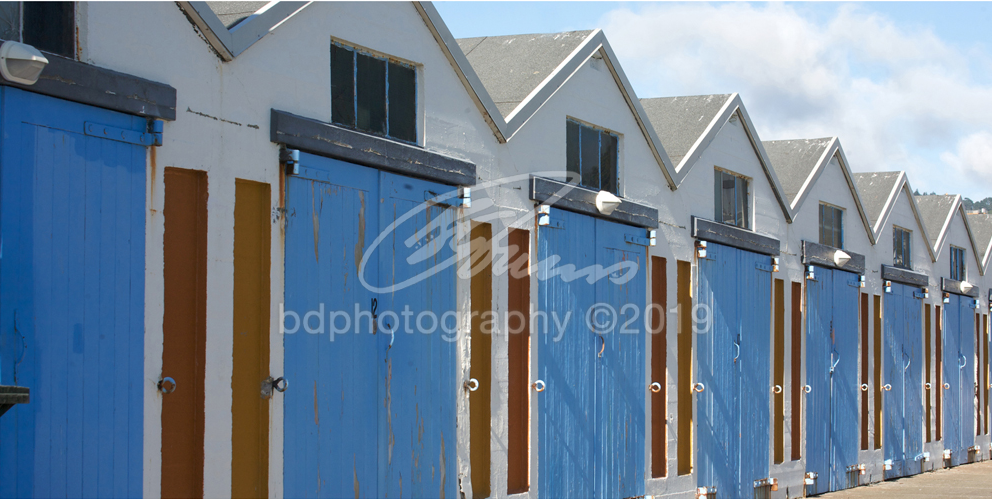
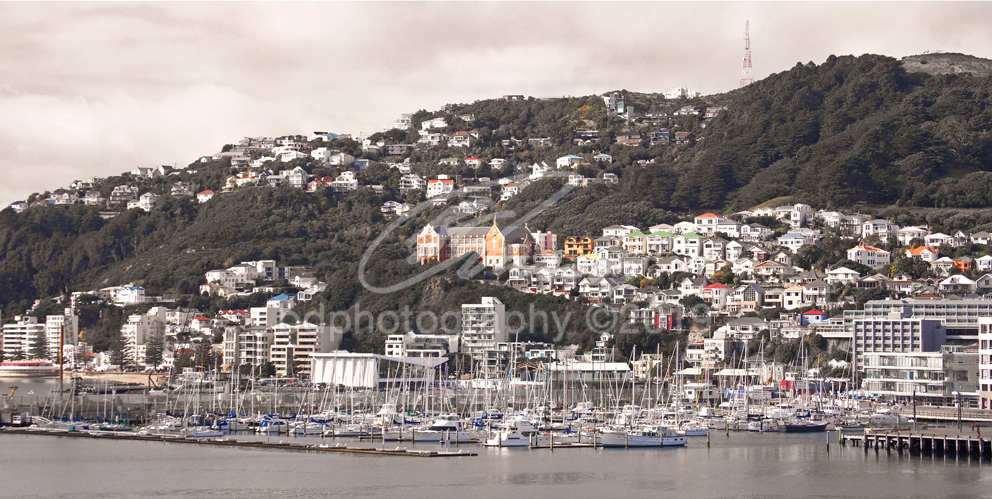
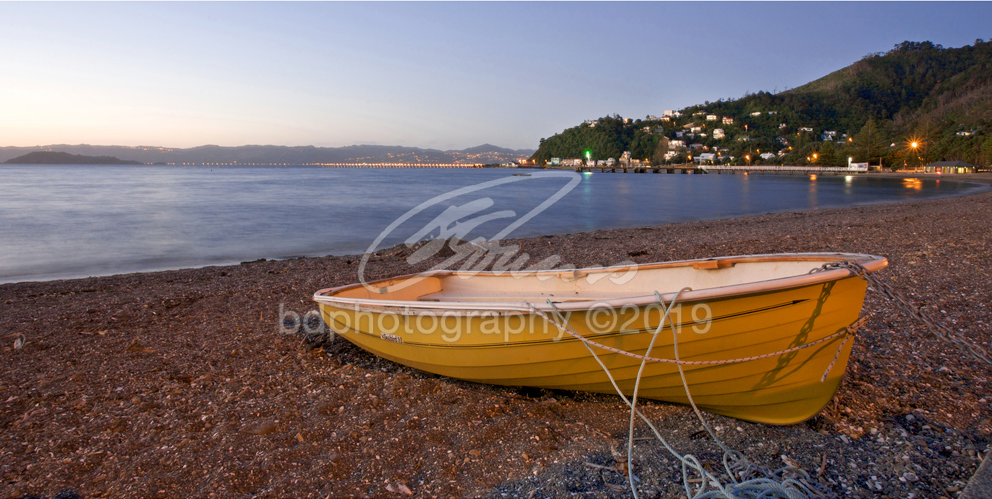
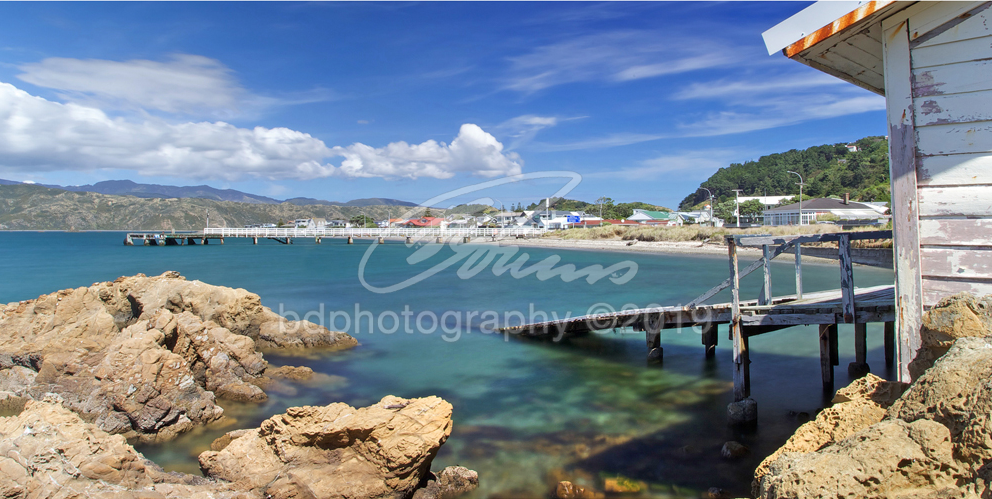
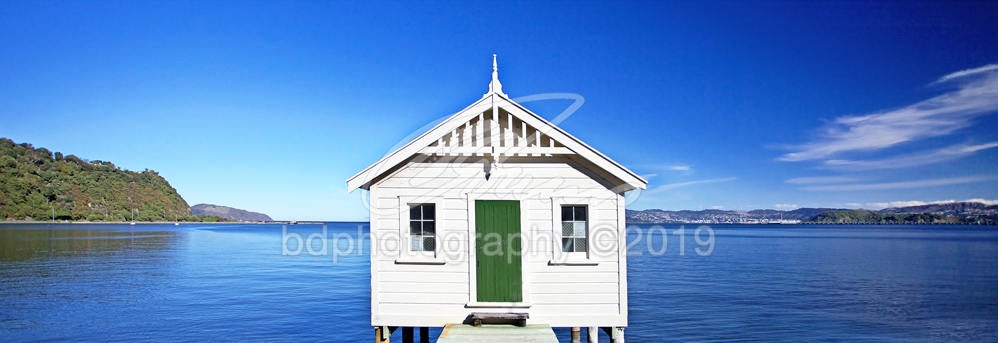
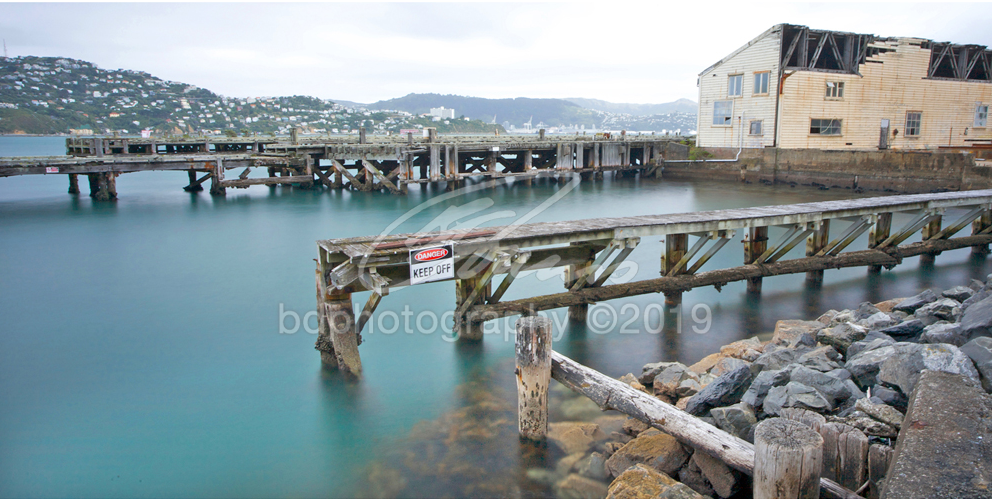
Boat Sheds WEL7 - 2:1 ratio
|
Boat Sheds WEL48 - 2:1 ratio
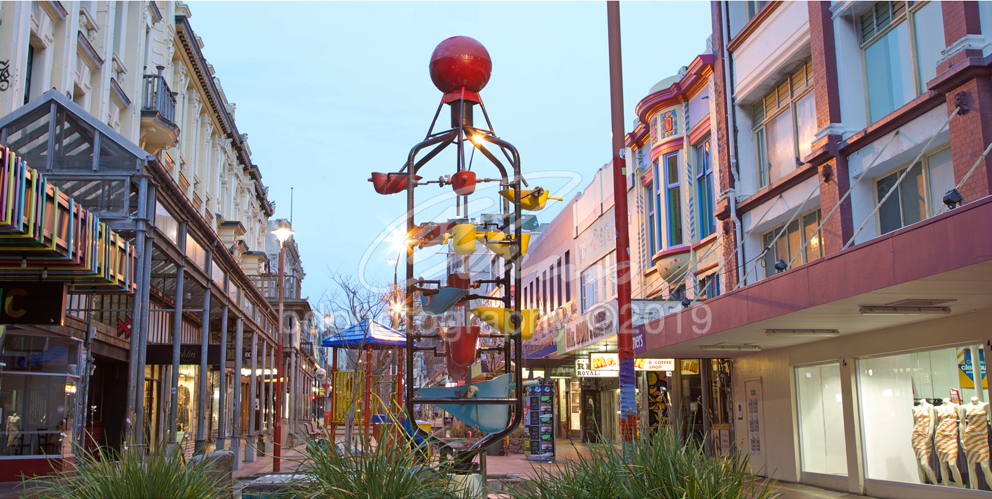
Cuba Street WEL79 - 2:1 ratio
|
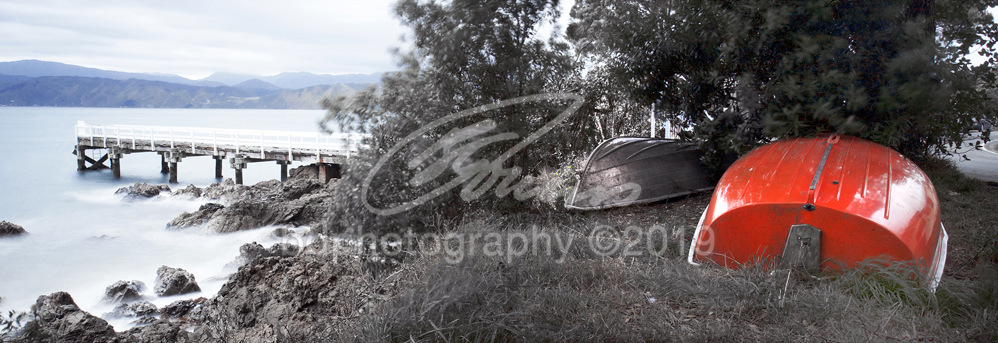
Karaka Bay WEL34P - 3:1 ratio
|
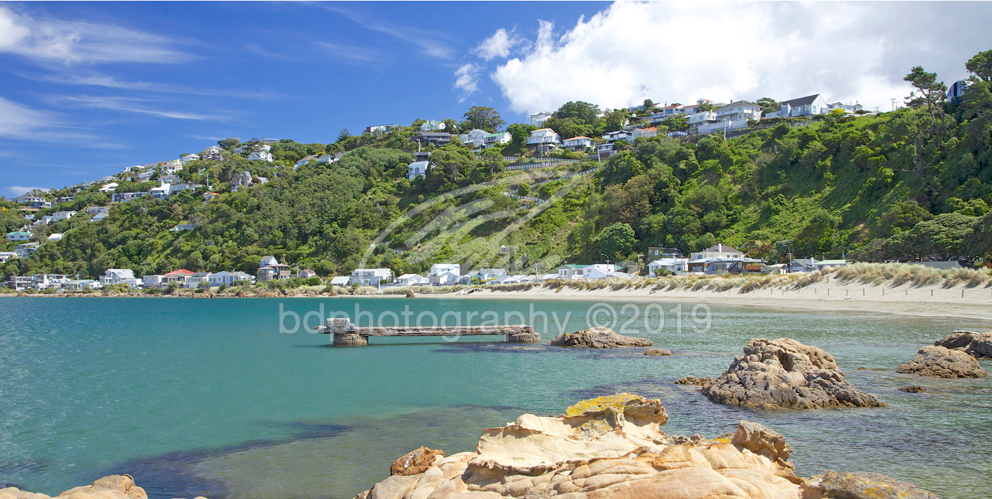
Seatoun WEL64P - 3:1 ratio
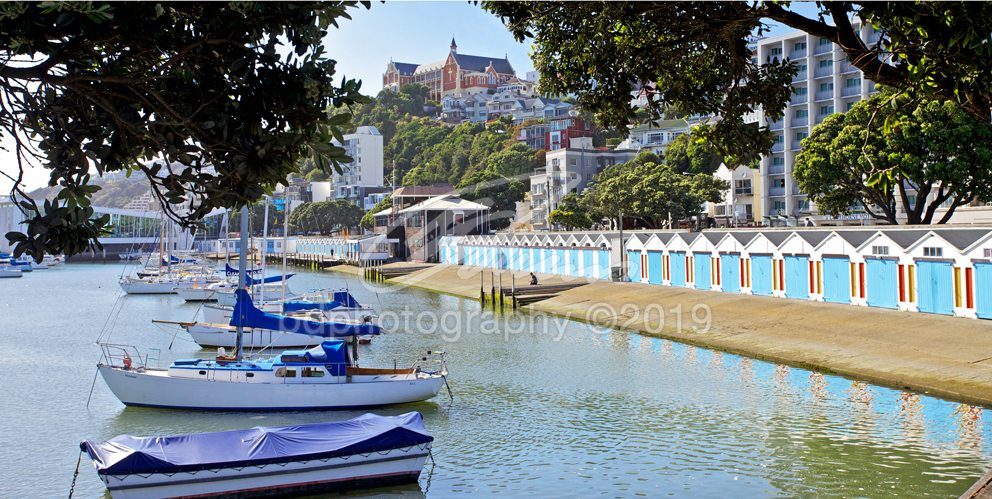
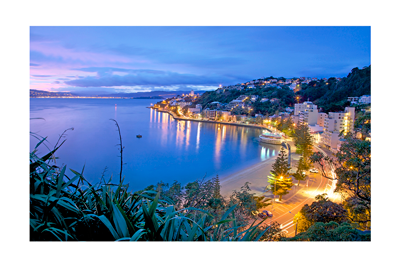
Oriental Bay WEL51P - 3:1 ratio
|
Days Bay WEL11 - 2:1 ratio
|
Eastbourne WEL66 - 2:1 ratio
|
Days Bay WEL13 - 2:1 ratio
|

Island Bay WEL33P - 3:1 ratio
Kapiti Island WEL69 - 2:1 ratio
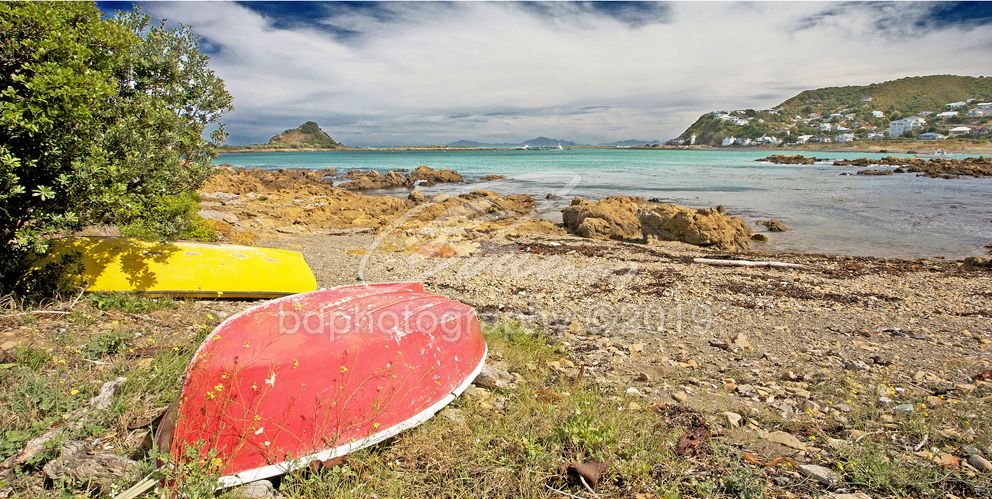
Island Bay WEL31 - 2:1 ratio
Wellington City WEL70P - 3:1 ratio
|
Kau Bay WEL16 - 2:1 ratio
|
Mt Victoria WEL55P - 3:1 ratio
Oriental Bay WEL72 - 2:1 ratio
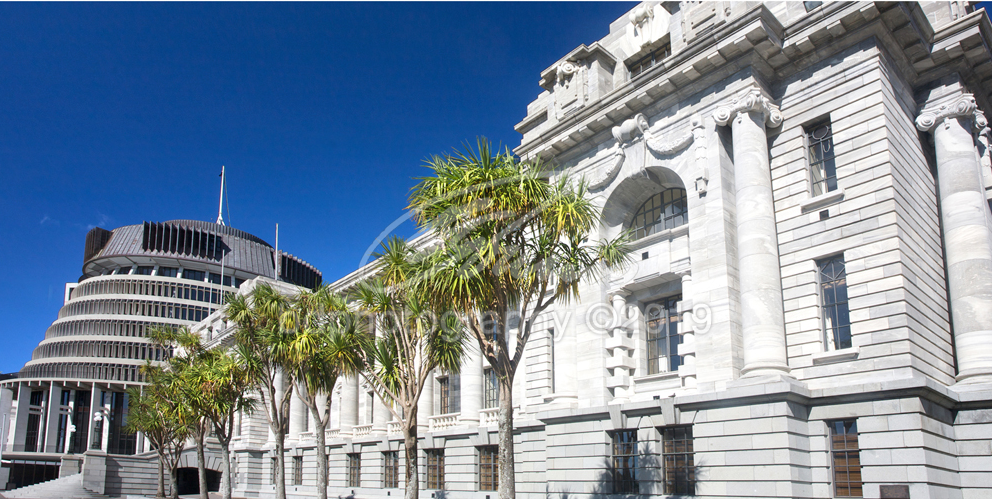
Parliament Buildings WEL39 - 2:1 ratio
|
Mana Island WEL67 - 2:1 ratio
|
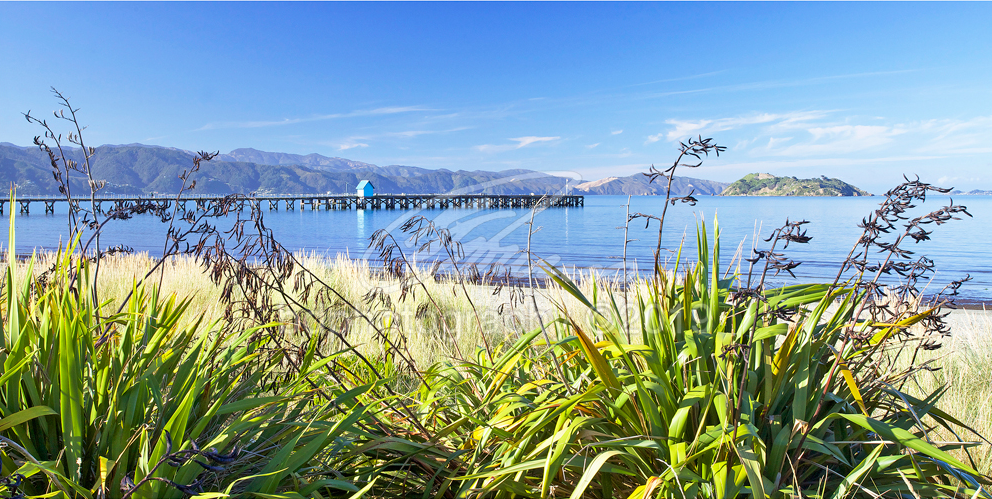
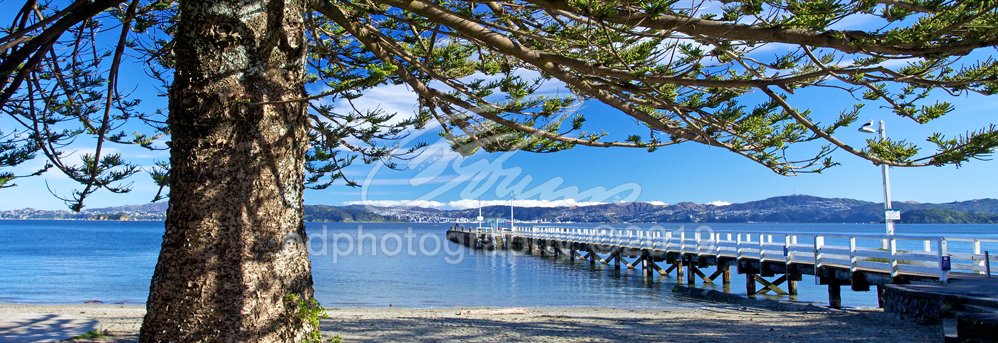
Petone Wharf WEL91 - 2:1 ratio
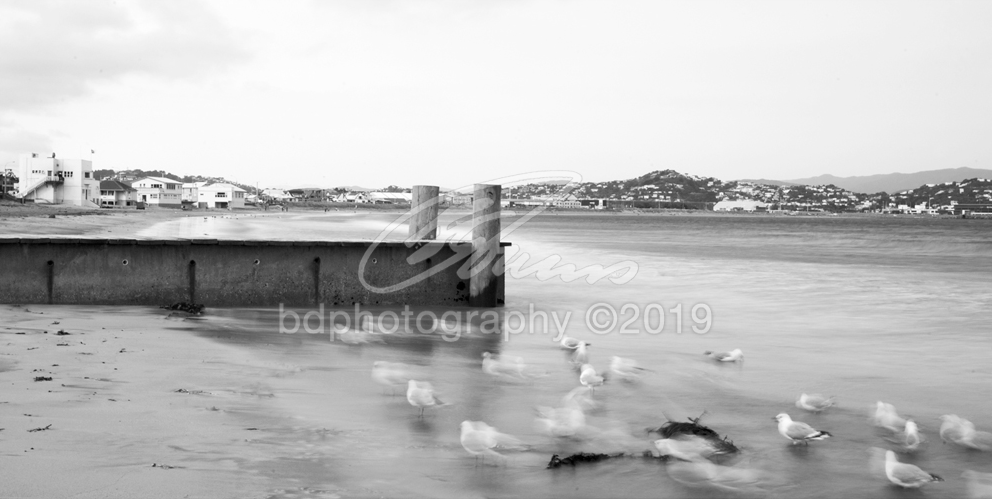
Lyall Bay WEL3 - 2:1 ratio
Lyall Bay WEL77 - 2:1 ratio
|
Seatoun WEL75 - 2:1 ratio
|
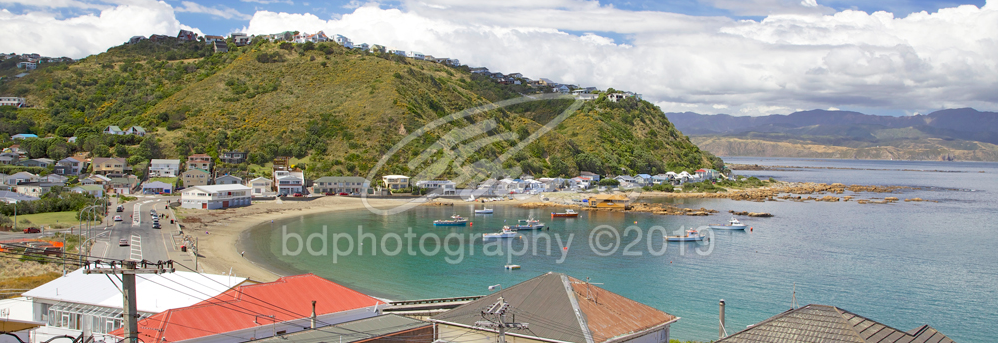
Island Bay WEL80P - 3:1 ratio
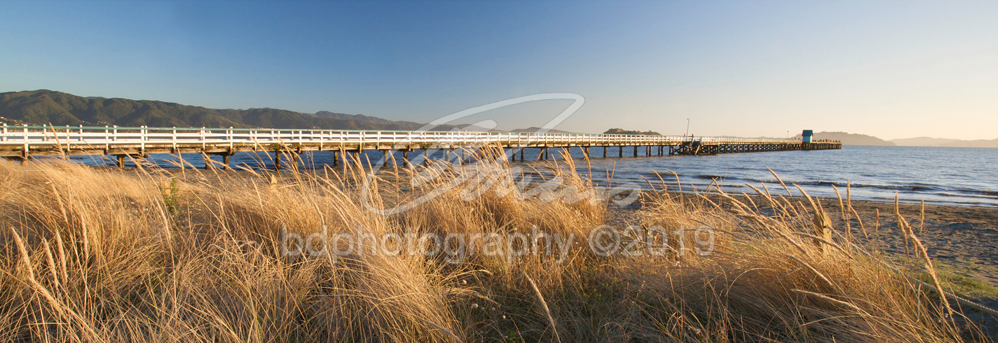
Petone Wharf WEL12P - 3:1 ratio

Scorching Bay WEL74 - 2:1 ratio
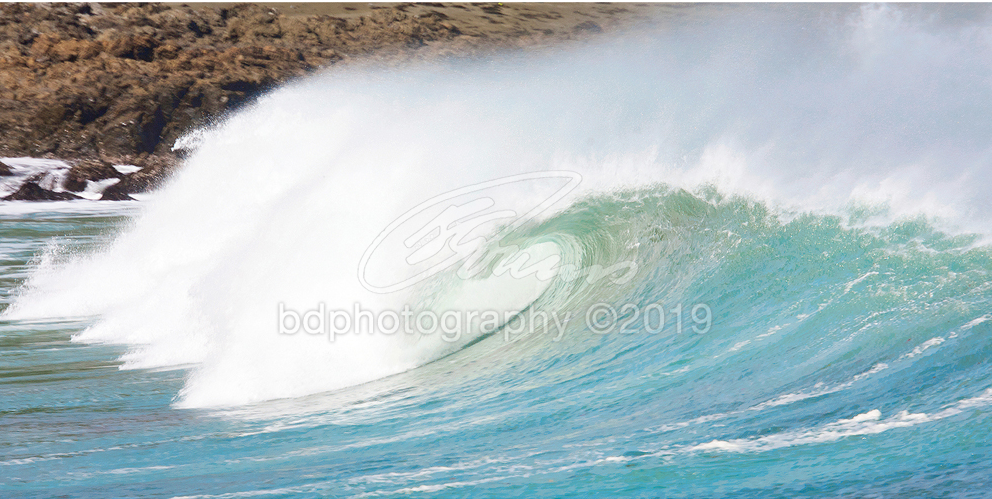
Wellington Surf WEL14 - 2:1 ratio
|
Lowry Bay WEL59P - 3:1 ratio
|
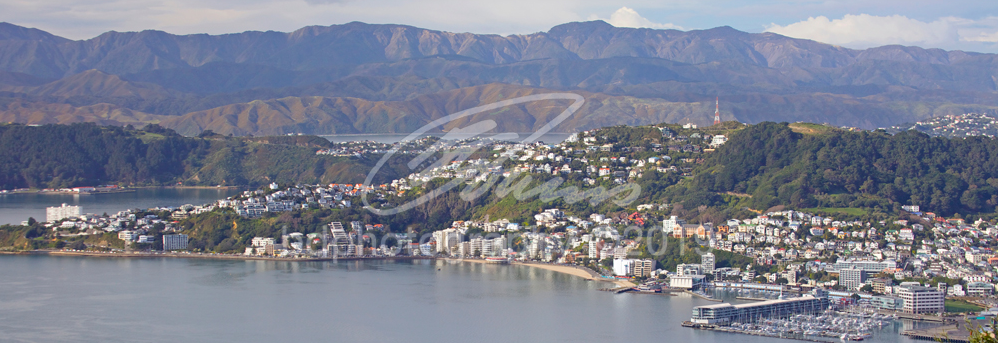
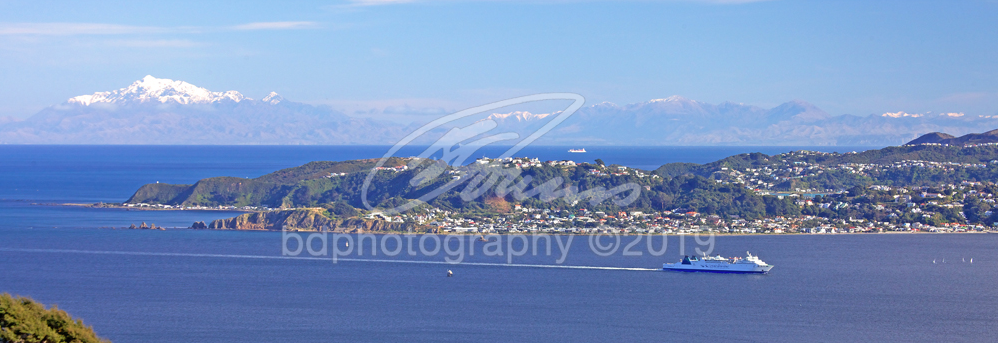
Wellington WEL99P - 3:1 ratio
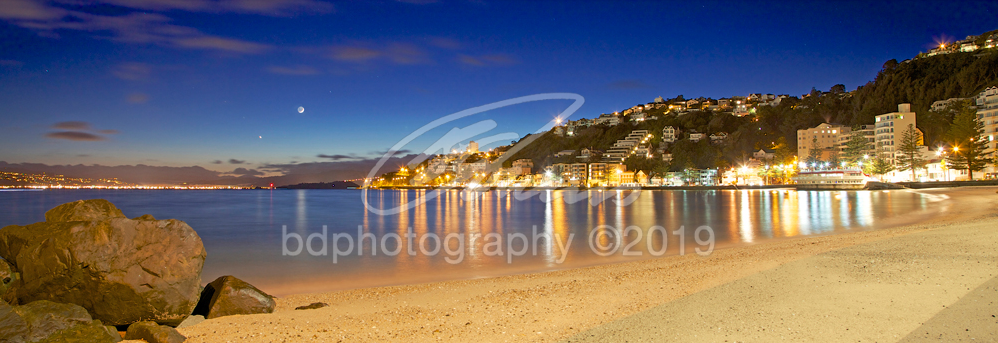
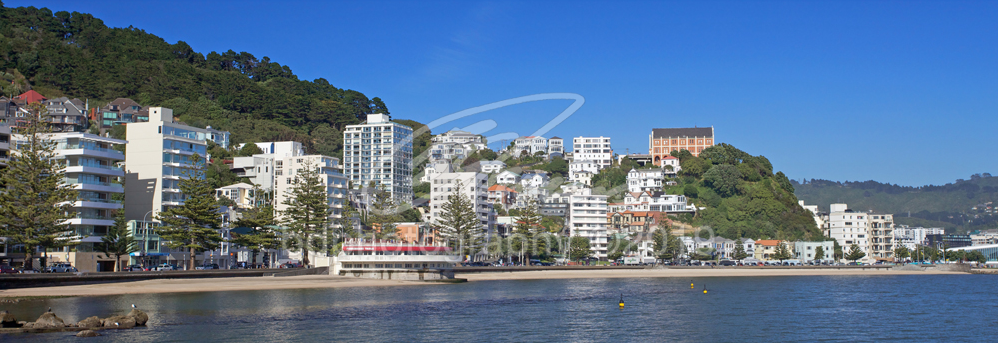
Oriental Bay WEL82P - 3:1 ratio
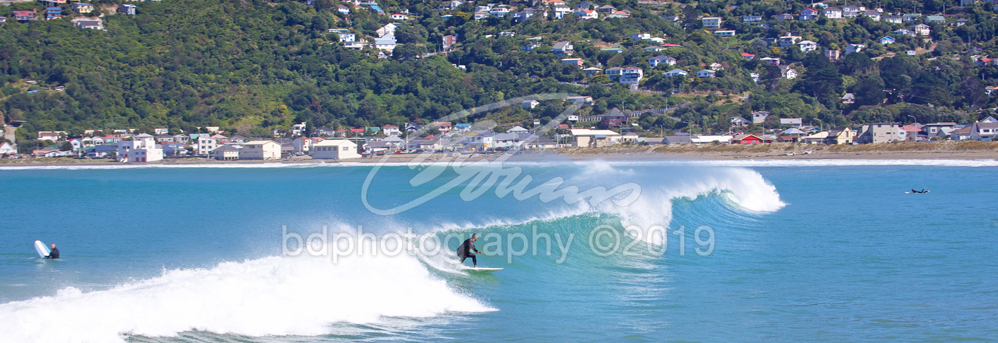
Lyall Bay WEL52P - 3:1 ratio
|
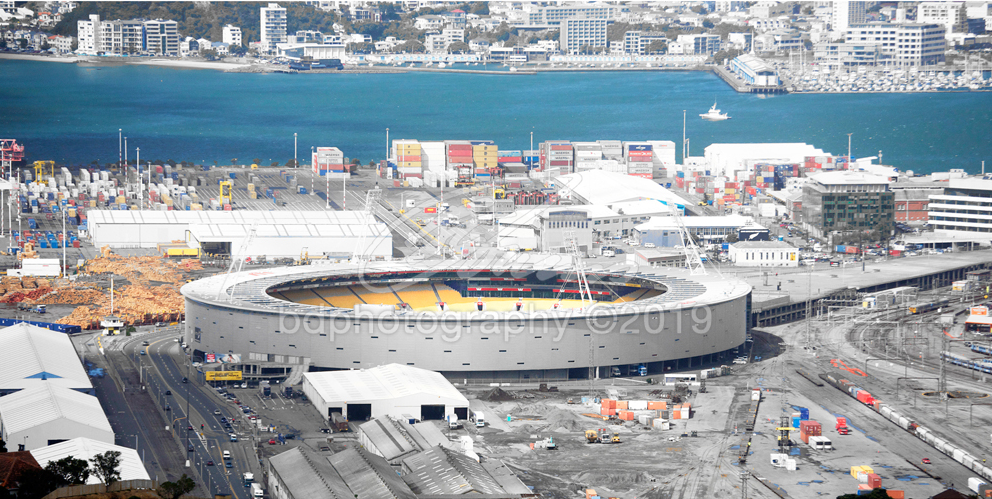
Westpac Stadium WEL42 - 2:1 ratio
|
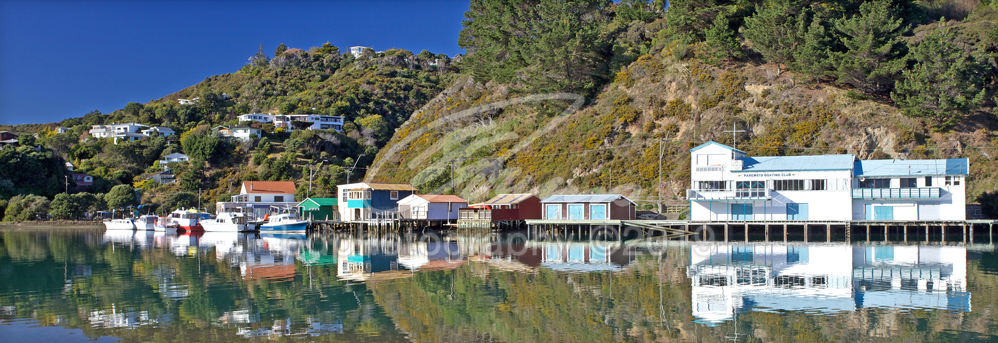
Paremata WEL62P - 3:1 ratio
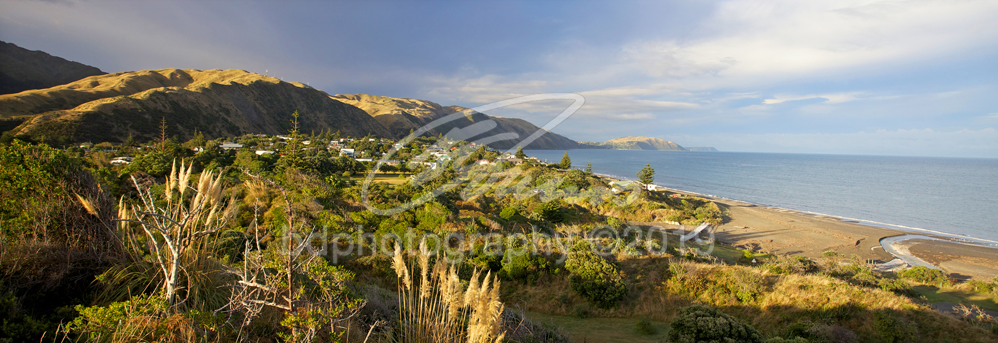
Paekakariki WEL54P - 3:1 ratio

Lyall Bay WEL81P - 3:1 ratio
Worser Bay WEL73 - 2:1 ratio
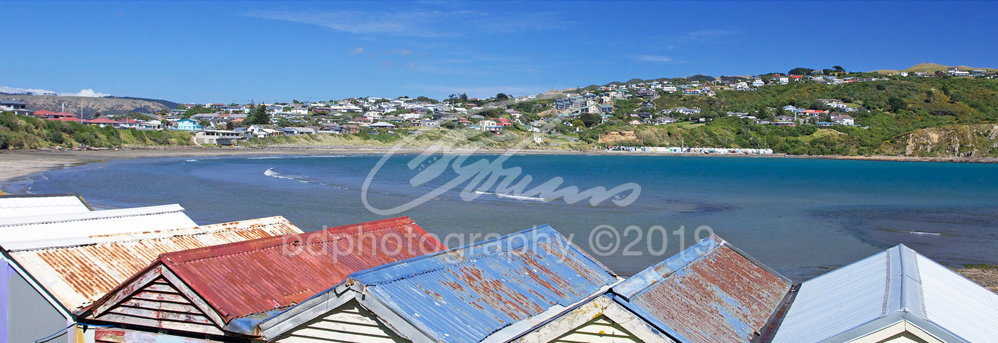
Titahi Bay WEL53P - 3:1 ratio
|
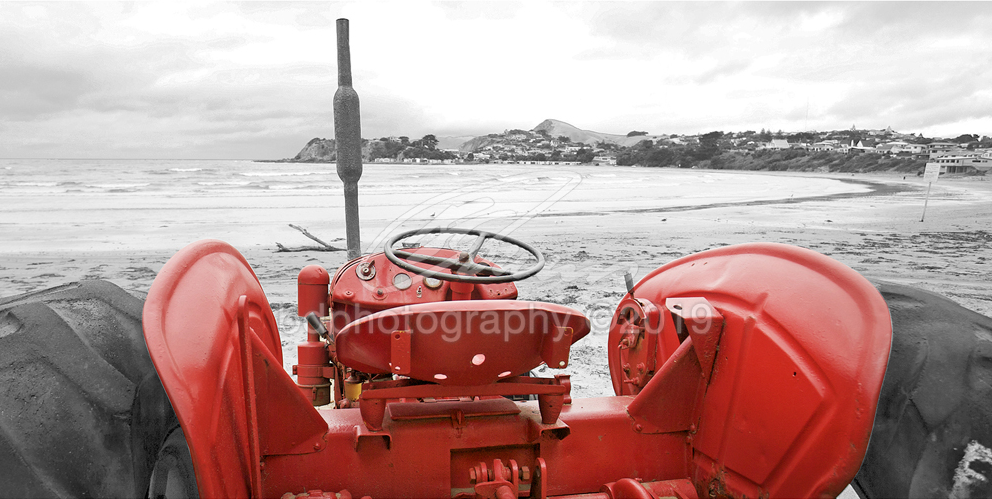
Titahi Bay WEL9 - 2:1 ratio
|
Days Bay WEL56P - 3:1 ratio
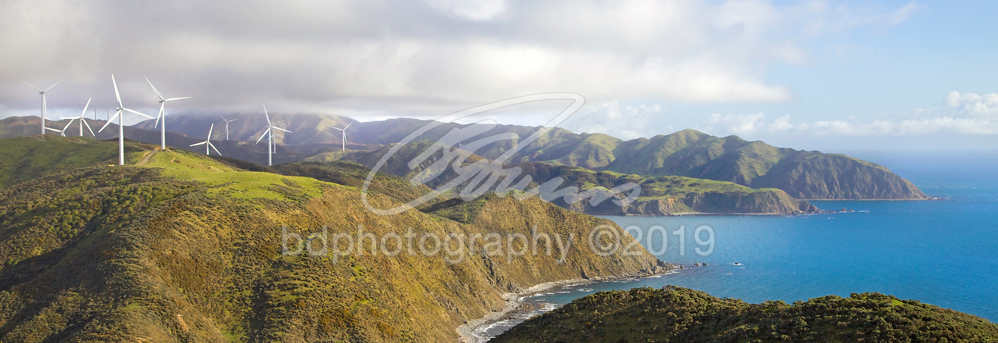
West Wind Farm WEL87P - 3:1 ratio
|
Shelly Bay WEL21 - 2:1 ratio
|
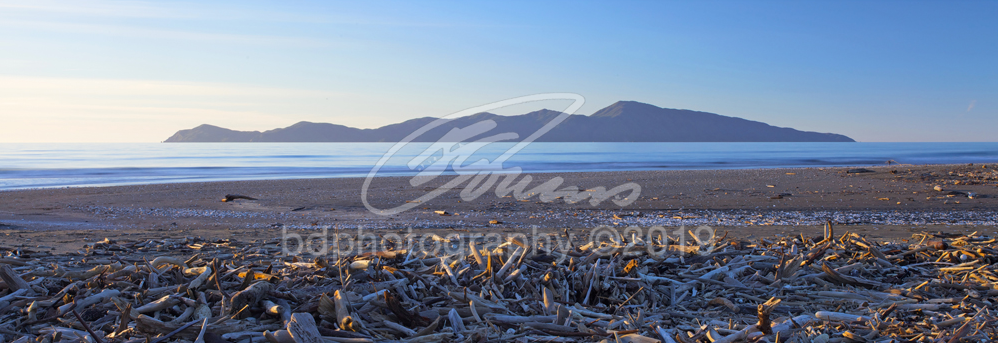
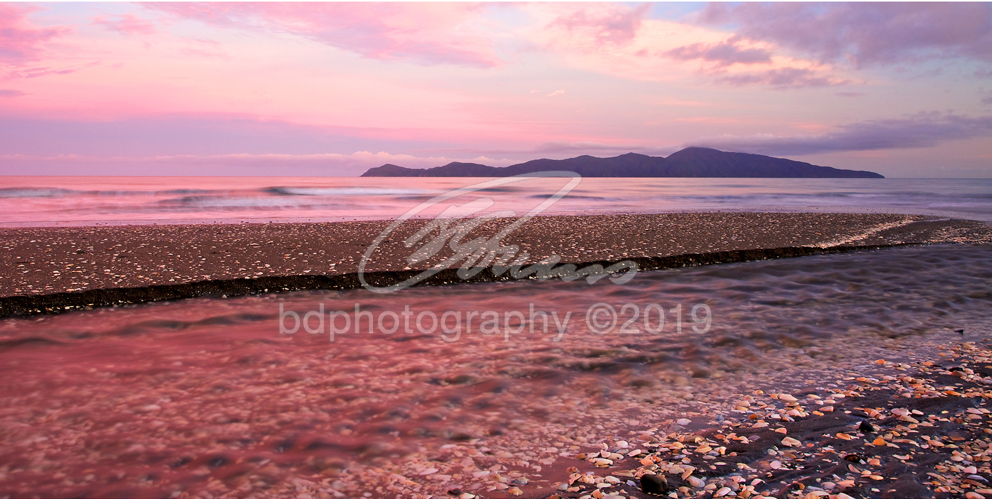
Kapiti Island WEL47P - 3:1 ratio
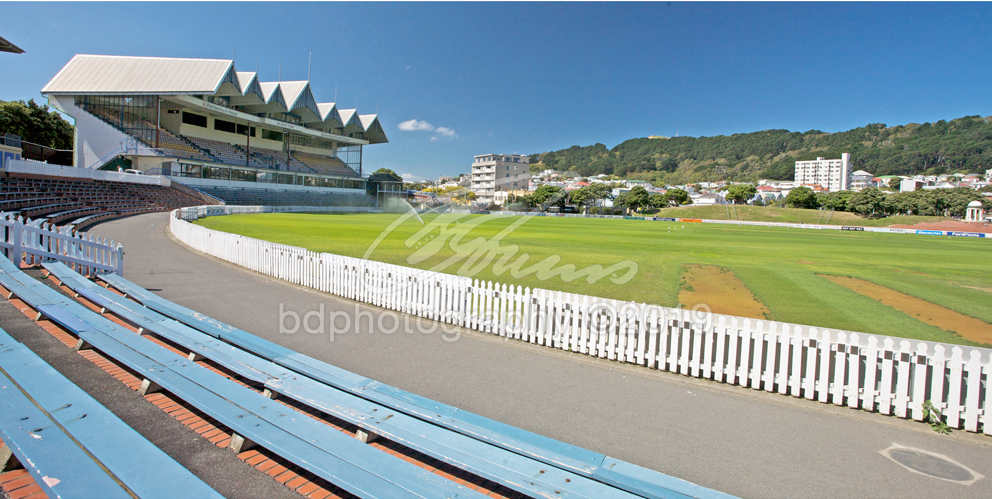
Basin Reserve WEL18 - 2:1 ratio
|
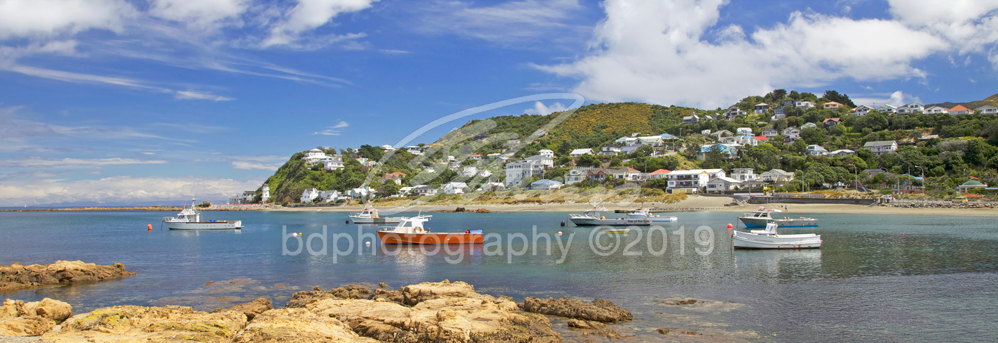
Island Bay WEL90P - 3:1 ratio
|
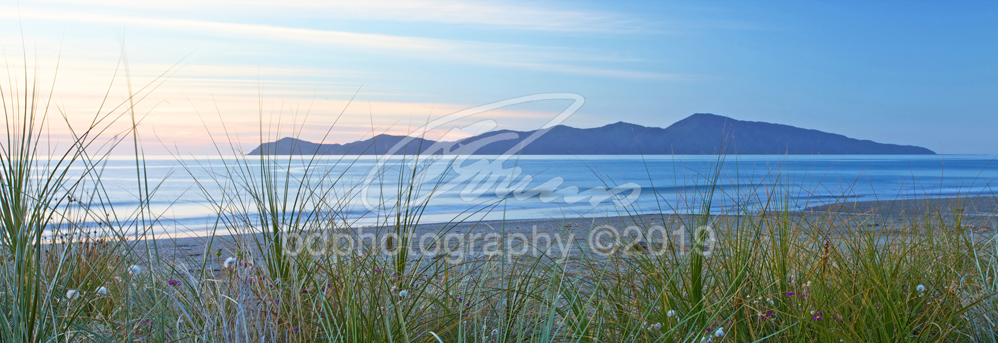
Kapiti Island WEL50P - 3:1 ratio
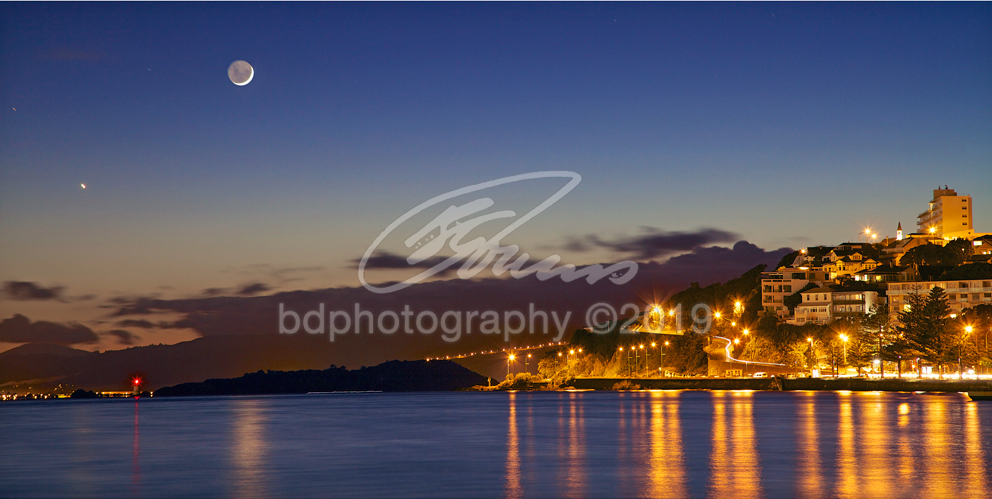
Oriental Bay Moon Rise WEL78 - 2:1 ratio
|
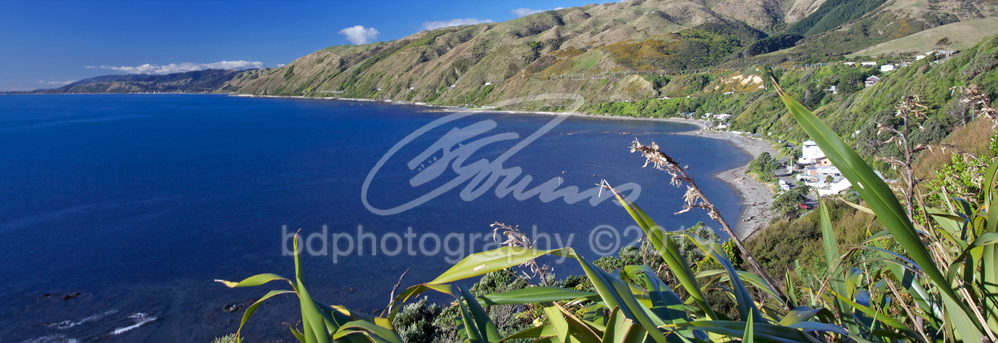
Pukerua Bay WEL63P - 3:1 ratio
|

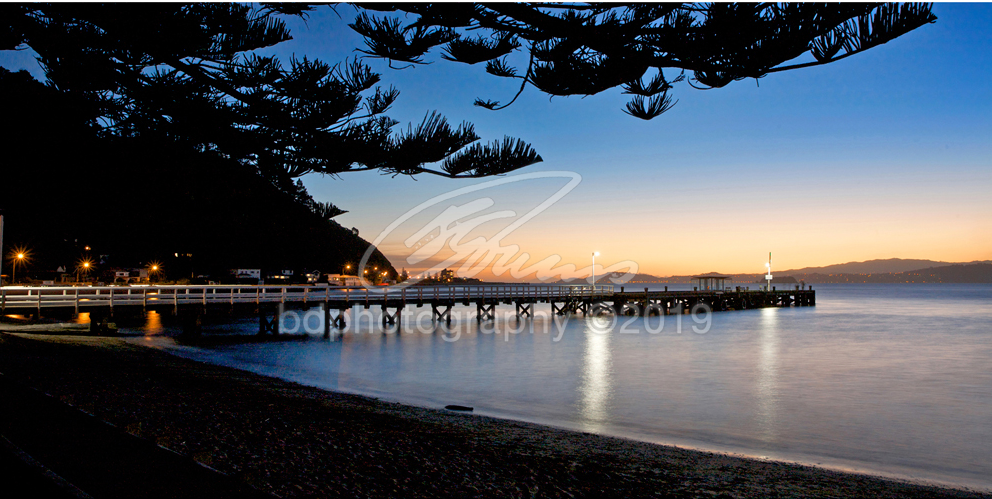
Petone Wharf WEL83P - 3:1 ratio