Whangamata / Onemana / Whiritoa |

|
|
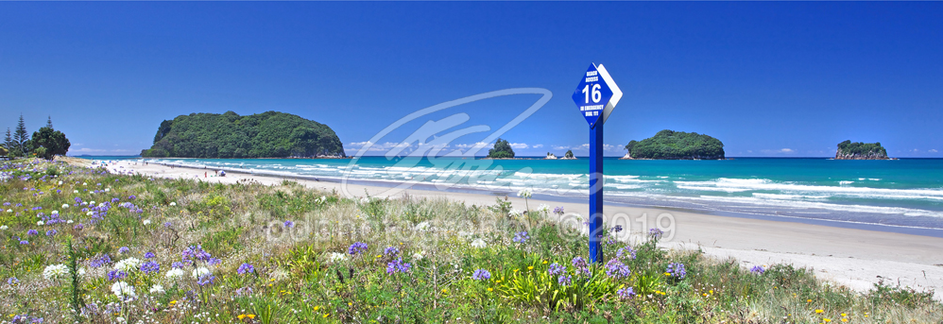
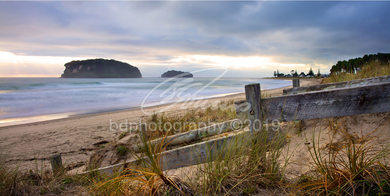
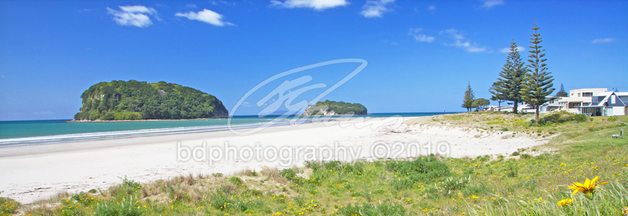
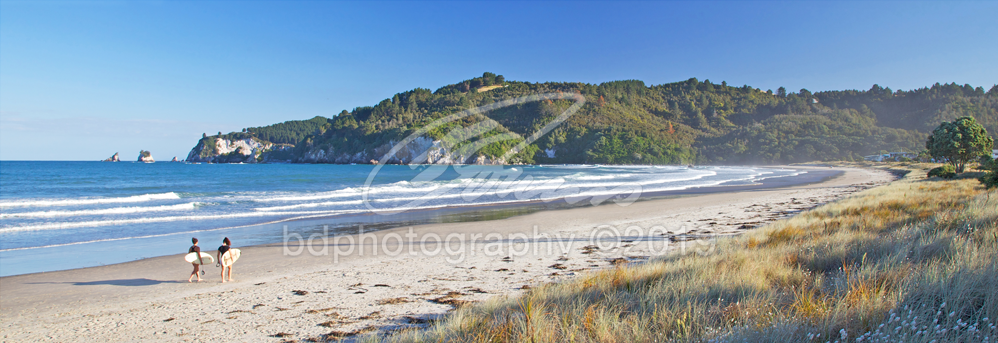
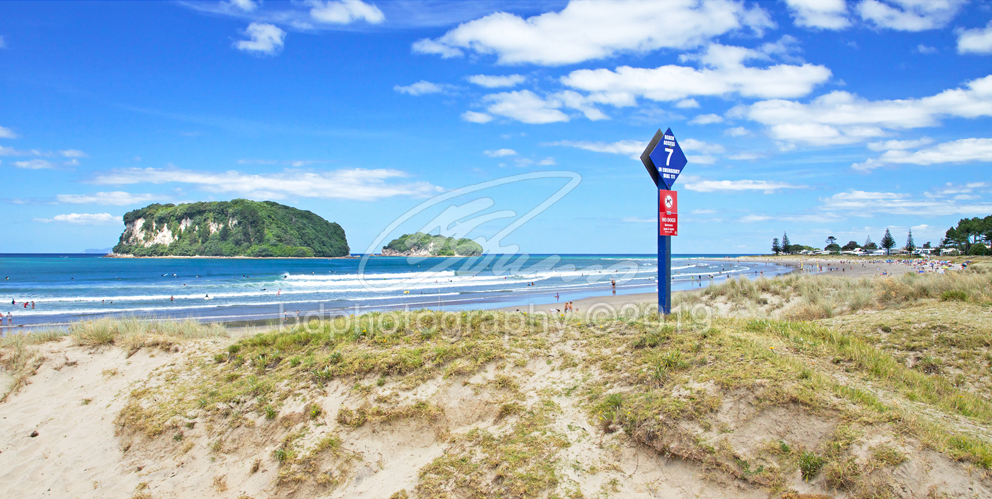
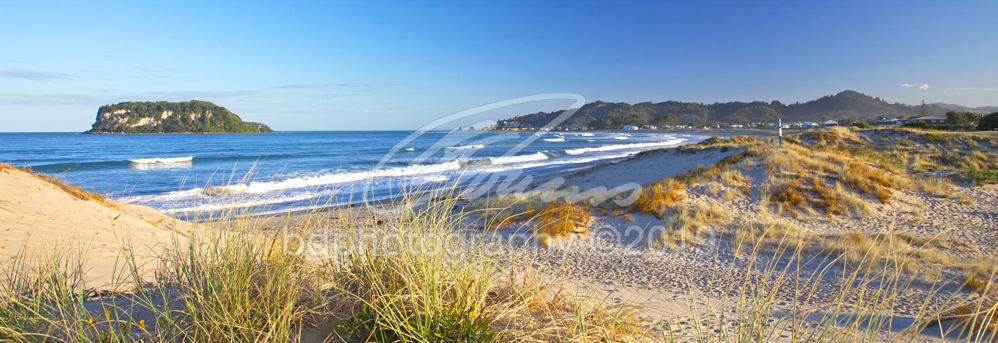
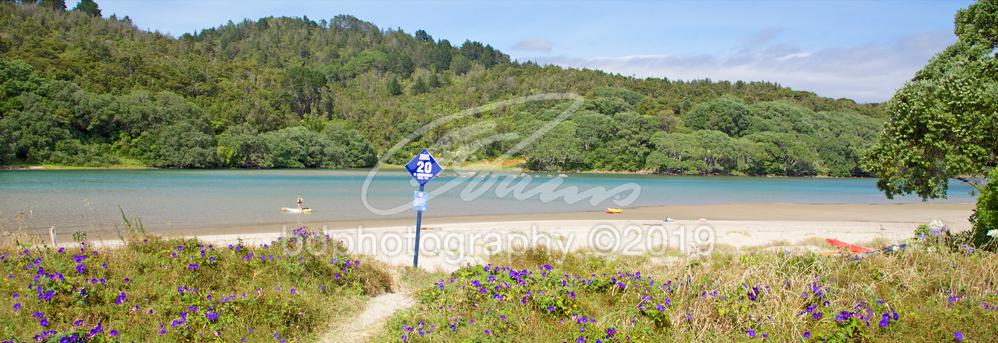
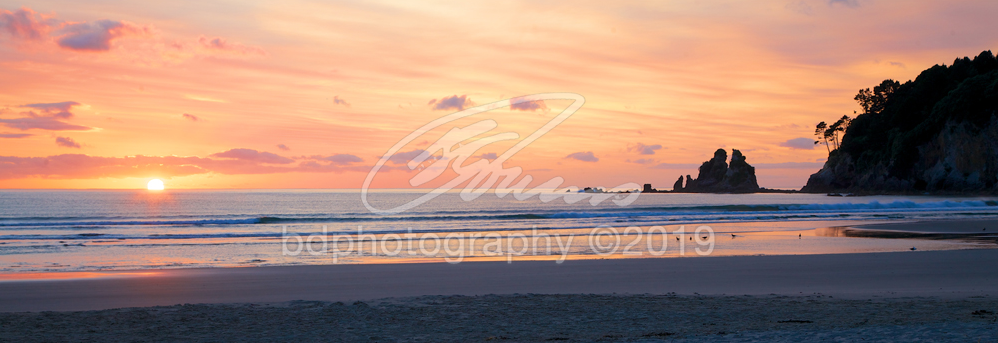
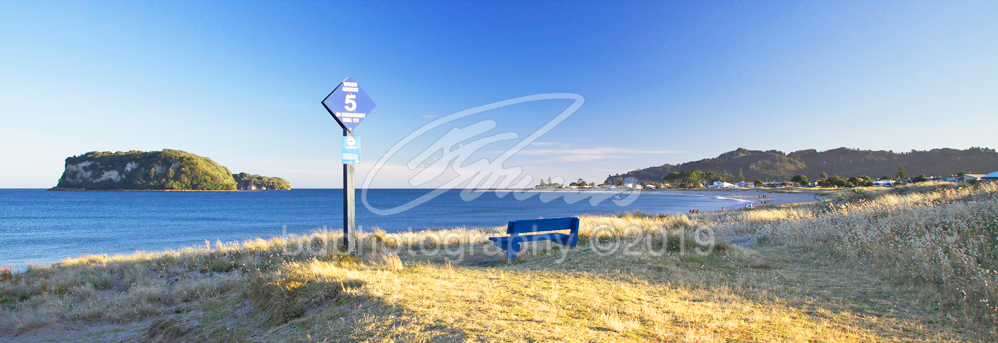
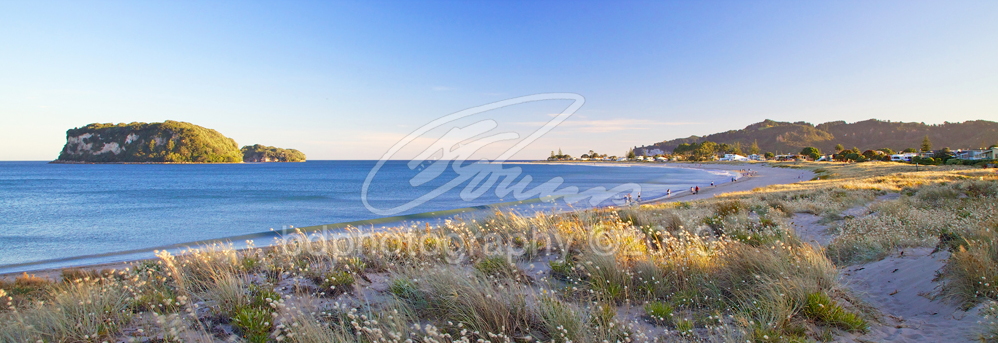
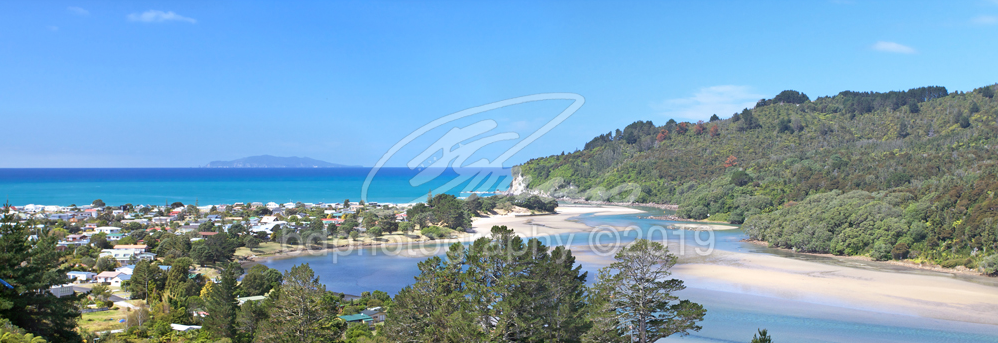
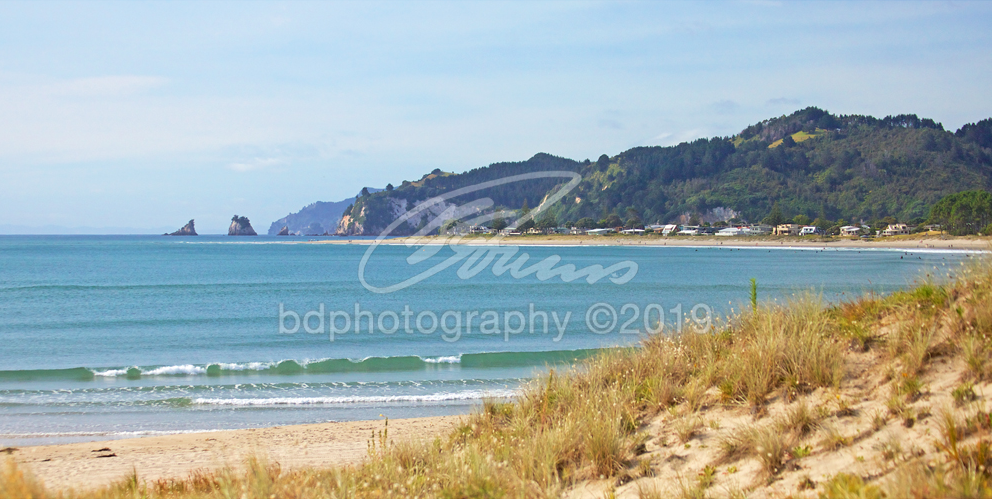
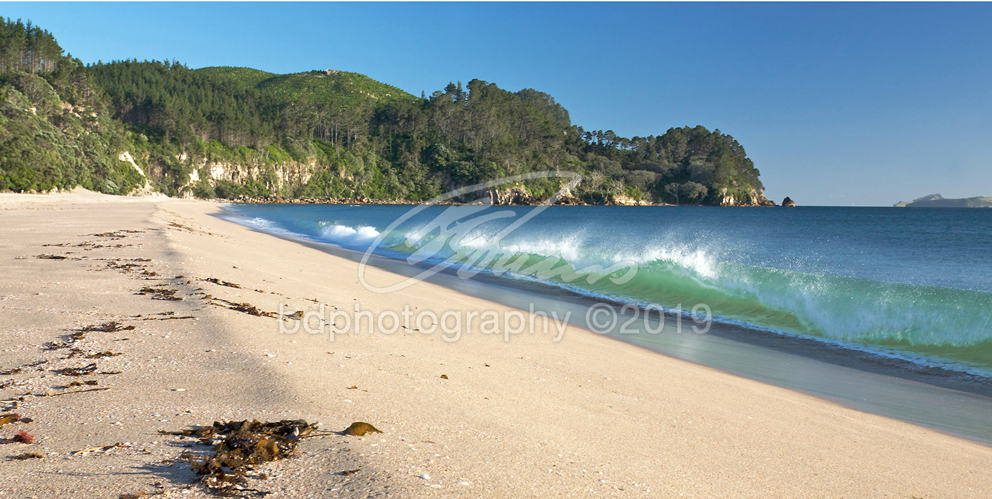
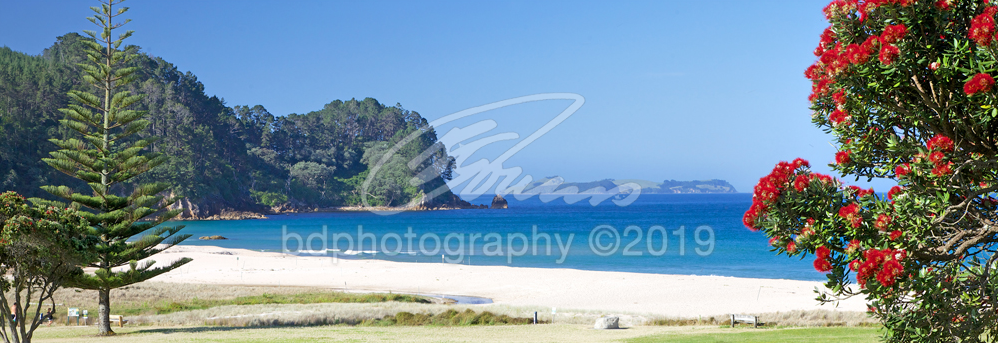
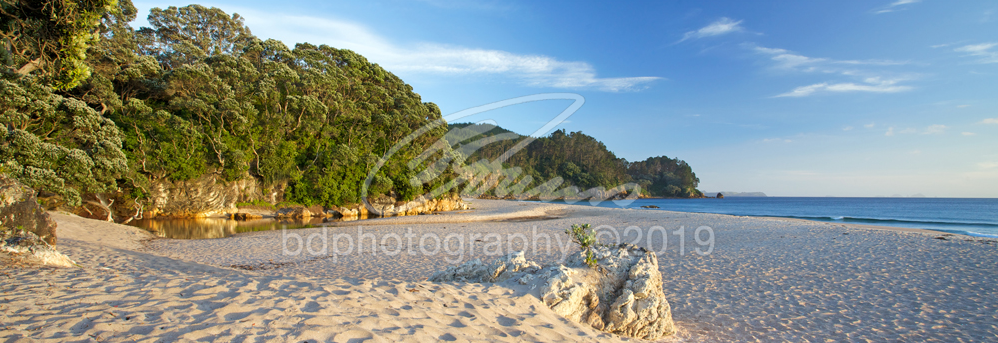
Whangamata, situated in the lower Coromandel Penninsula, is a popular holiday spot for locals and tourists alike. Famous for it's surf and annual Beach Hop celebrating the rock 'n' roll era.
|
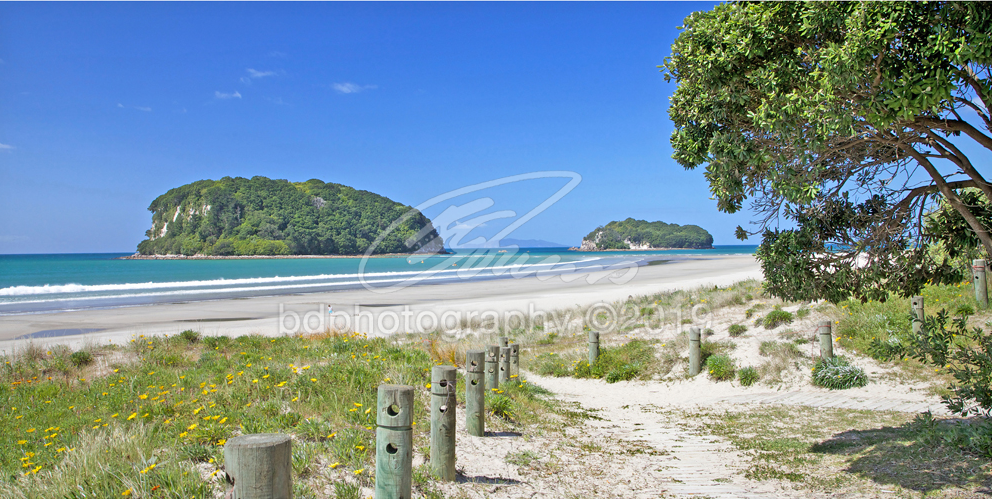
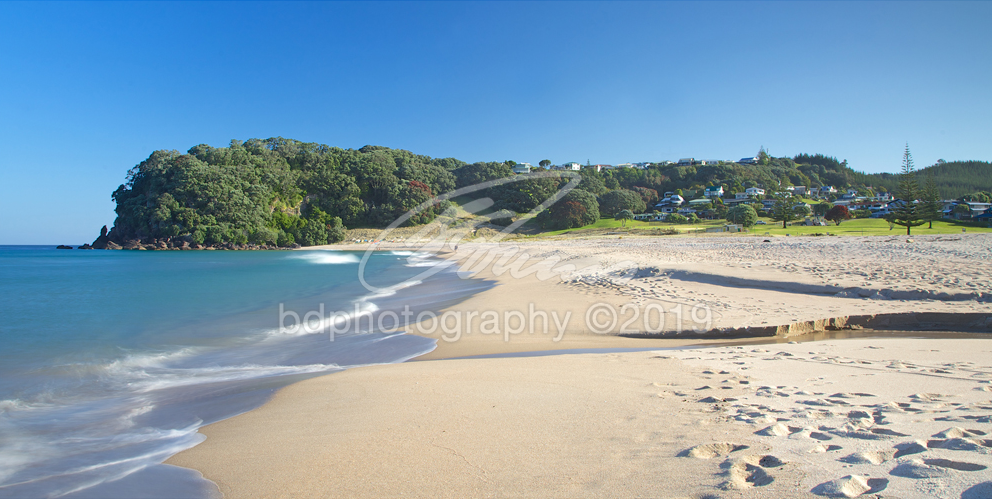
Whangamata COR318 - 2:1 ratio
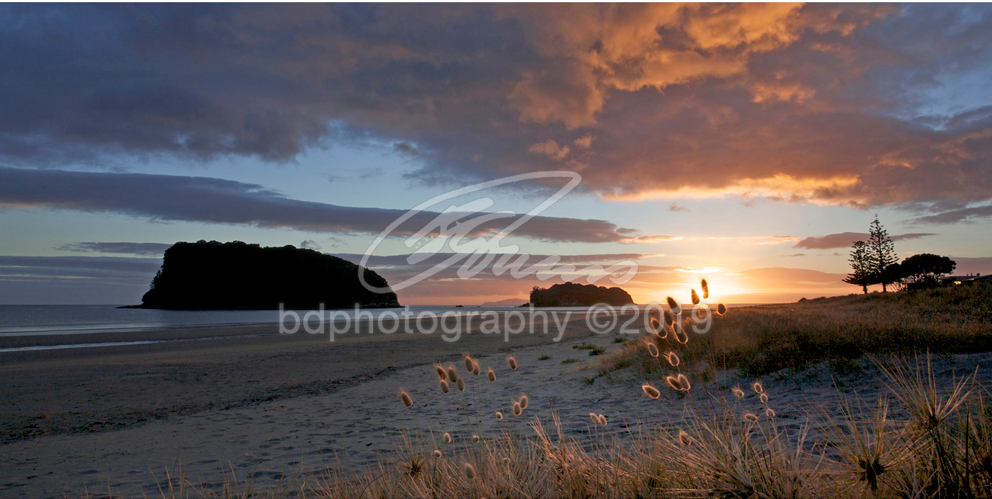
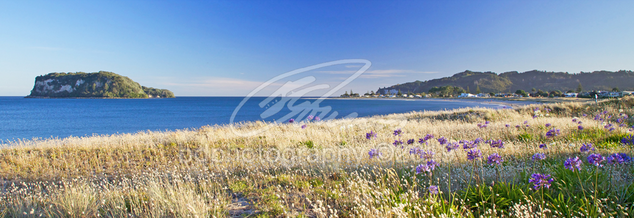
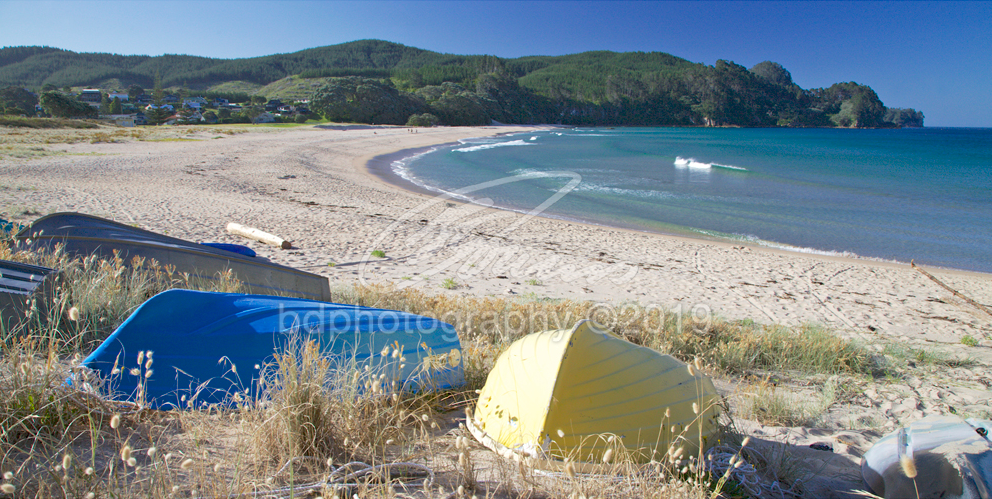
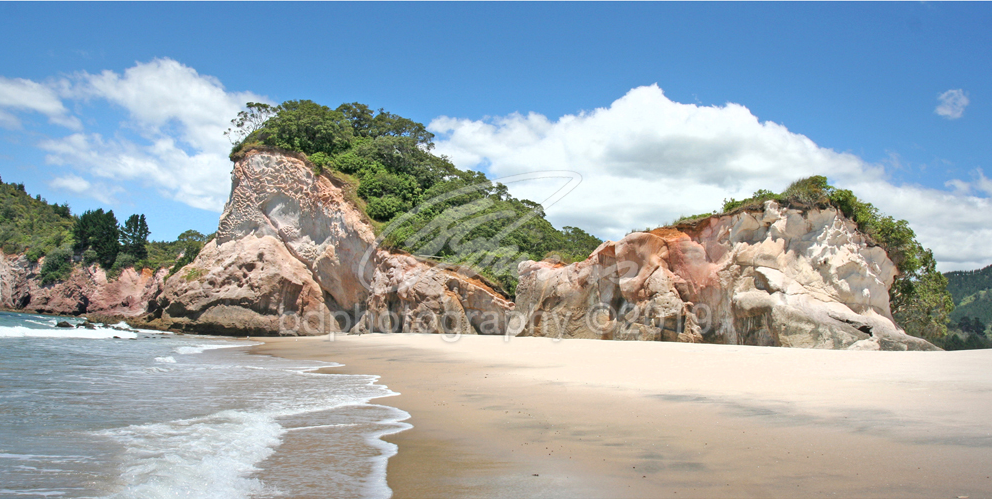
Whangamata COR204 - 2:1 ratio
|
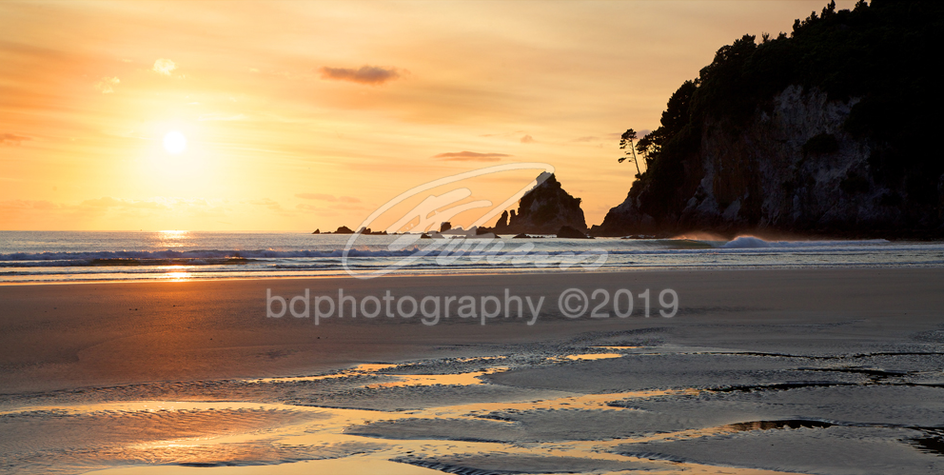
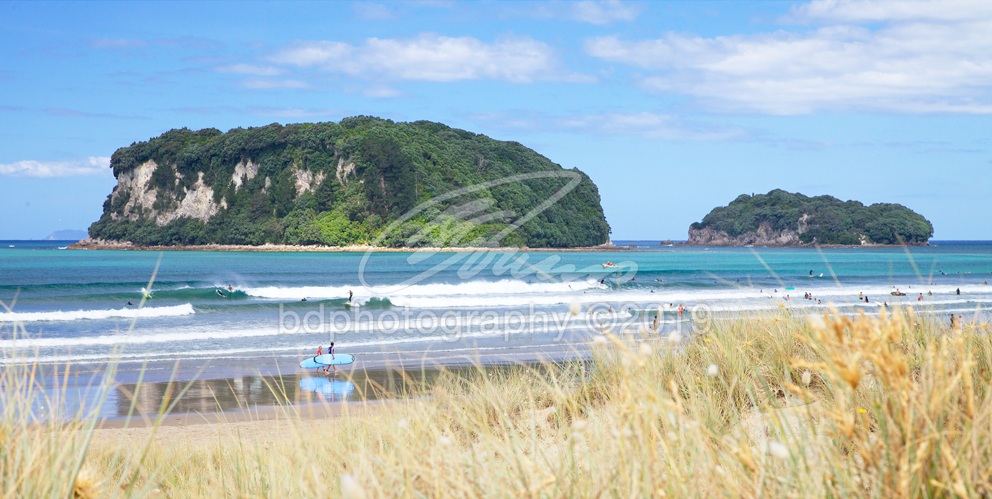
Whangamata COR404 - 2:1 ratio
|
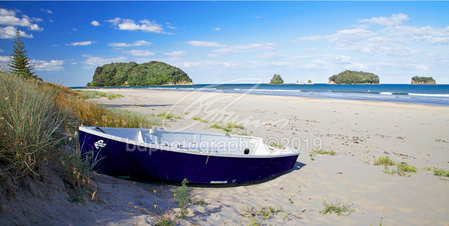
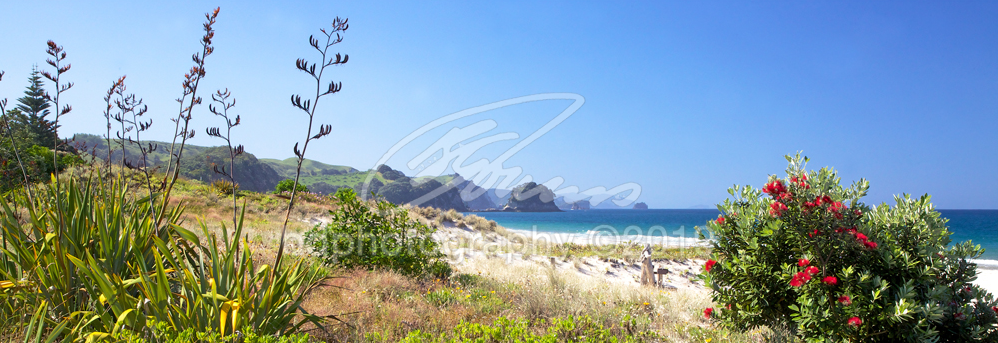
Whangamata COR255P - 3:1 ratio
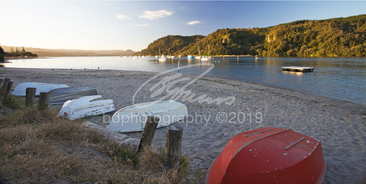
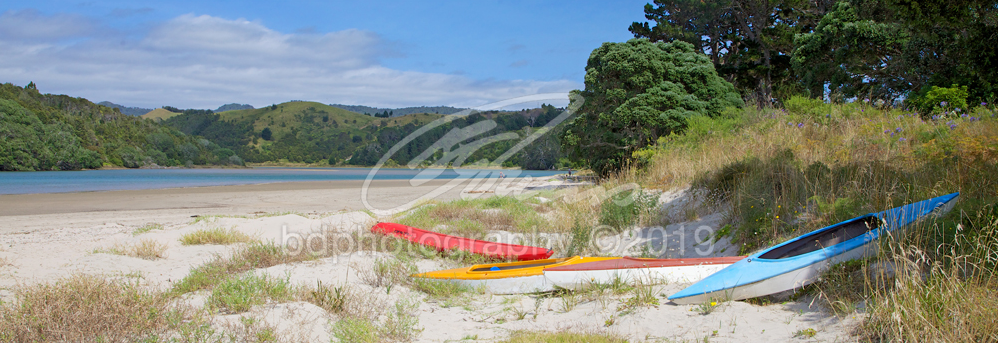
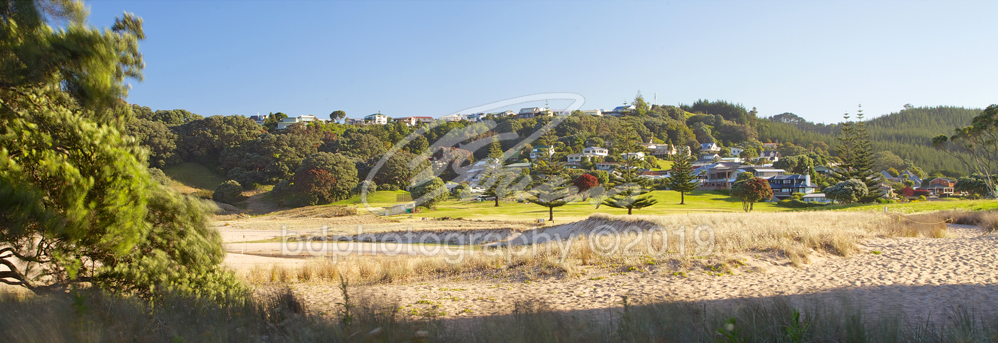
Whangamata Harbour COR294 - 2:1 ratio
|
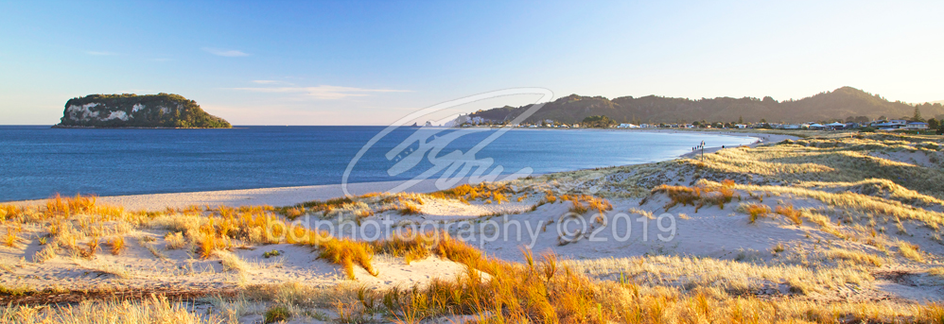
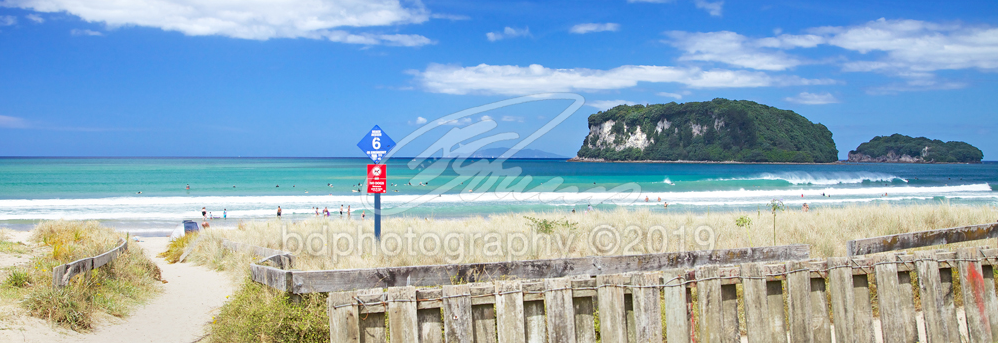
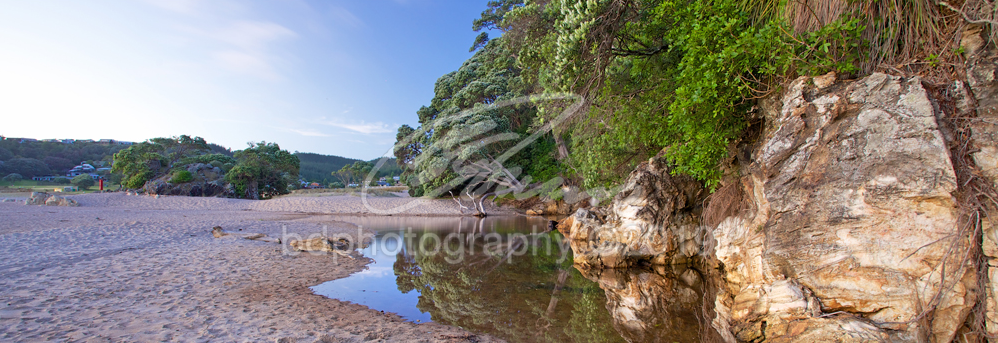
Whangamata COR352P - 3:1 ratio
|
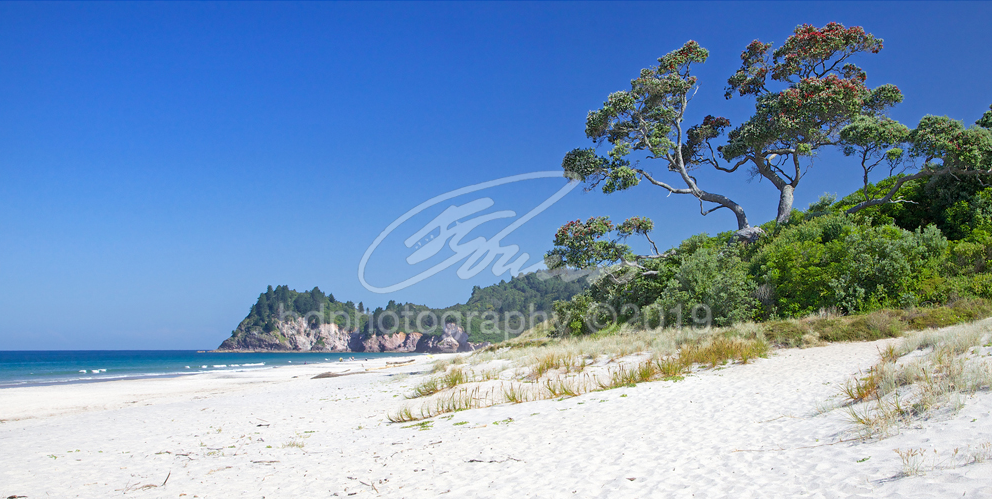
Whangamata COR367P - 3:1 ratio
|
Whangamata COR290 - 2:1 ratio
|

Whangamata COR289 - 2:1 ratio
|
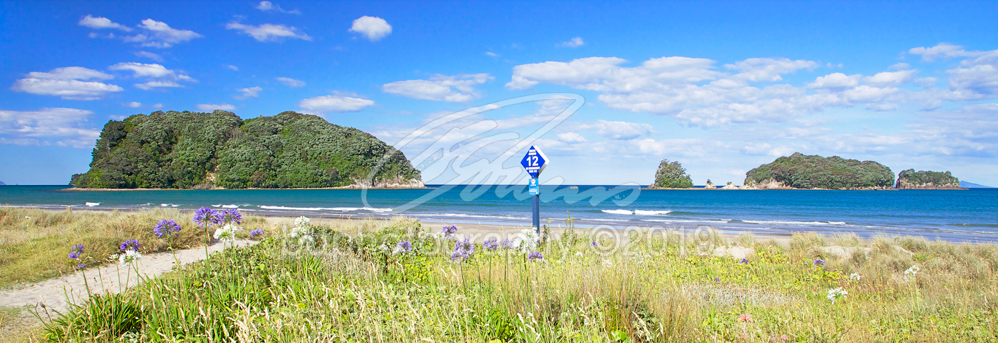
Whangamata COR353P - 3:1 ratio
|
Whangamata COR405 - 2:1 ratio
Whangamata COR366 - 2:1 ratio
|
Whangamata COR345P - 3:1 ratio
|
Whangamata COR415P - 3:1 ratio
|
Whangamata COR403 - 2:1 ratio
|
Whangamata COR292P - 3:1 ratio
Whangamata COR411P - 3:1 ratio
|
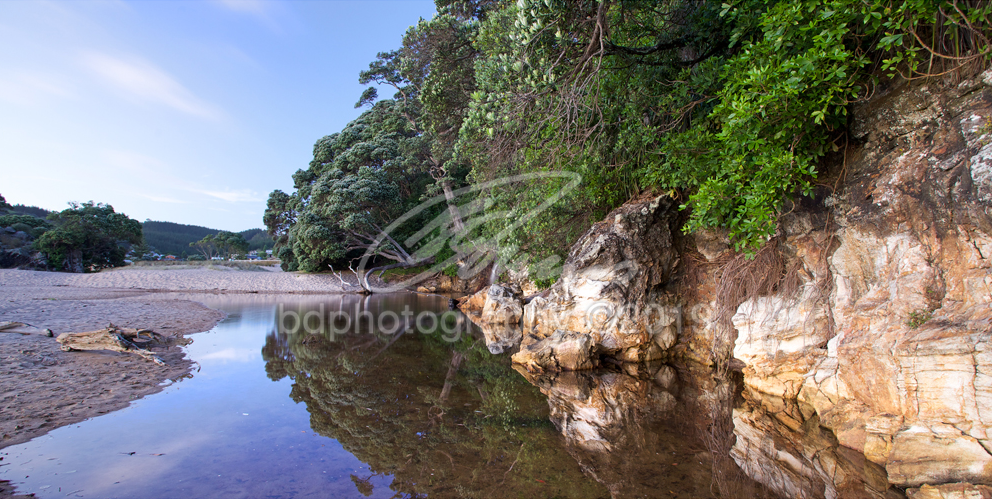
Otahu River COR410P - 3:1 ratio
|
Whangamata COR409P - 3:1 ratio
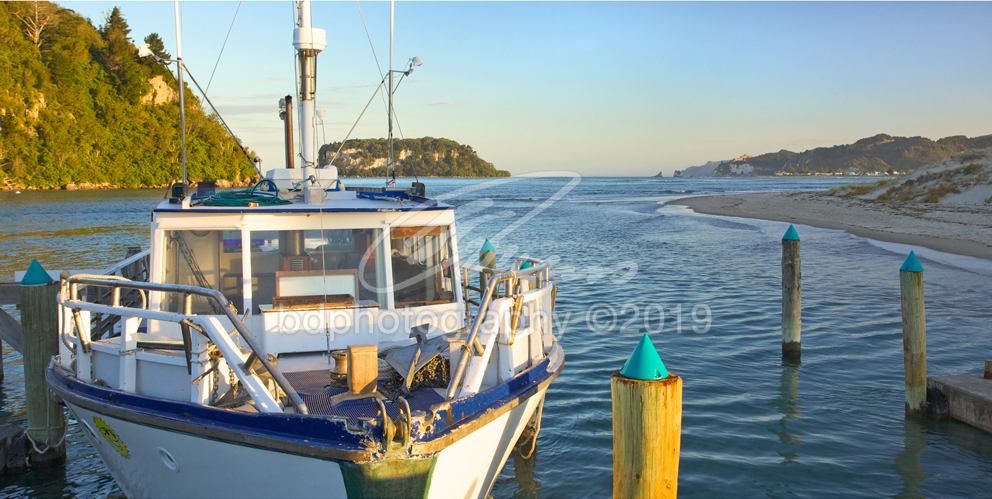
Whangamata Wharf COR291 - 2:1 ratio
|
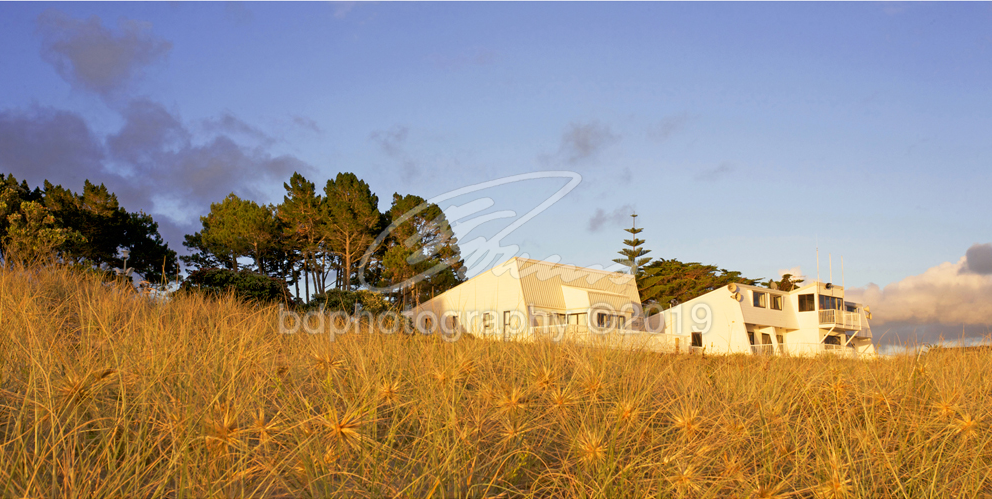
Whangamata Surf Club COR205 - 2:1 ratio
|
Whangamata COR406P - 3:1 ratio

Whangamata COR403P - 3:1 ratio
|
Whangamata COR354P - 3:1 ratio
|
Whangamata COR355P - 3:1 ratio
Whangamata COR319P - 3:1 ratio
|
Whangamata COR408 - 2:1 ratio
|
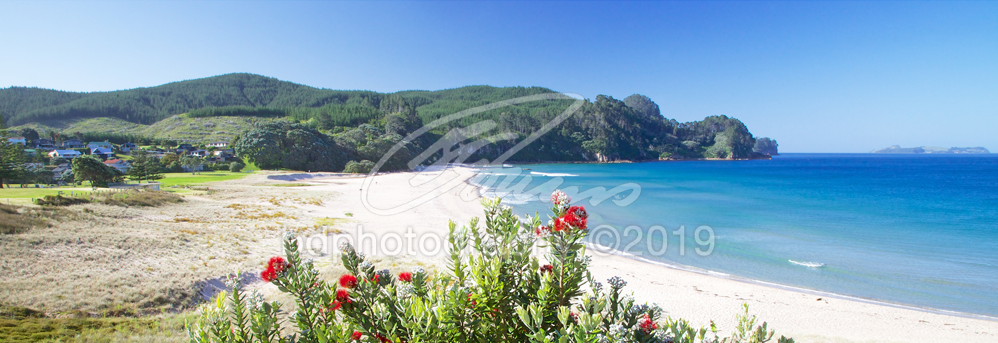
Onemana COR374P - 3:1 ratio
Onemana COR381 - 2:1 ratio
Onemana COR219 - 2:1 ratio
Onemana COR397 - 2:1 ratio
|
Onemana COR394 - 2:1 ratio
Onemana COR384 - 2:1 ratio
|

Onemana COR393 - 2:1 ratio
Onemana COR392P - 2:1 ratio
Onemana COR395 - 2:1 ratio
|
Onemana COR419 - 2:1 ratio
|
Onemana COR380 - 2:1 ratio
|
Onemana COR421P - 3:1 ratio
|
Onemana COR420P - 3:1 ratio
Onemana COR373P - 3:1 ratio
|

Onemana COR396 - 2:1 ratio
|
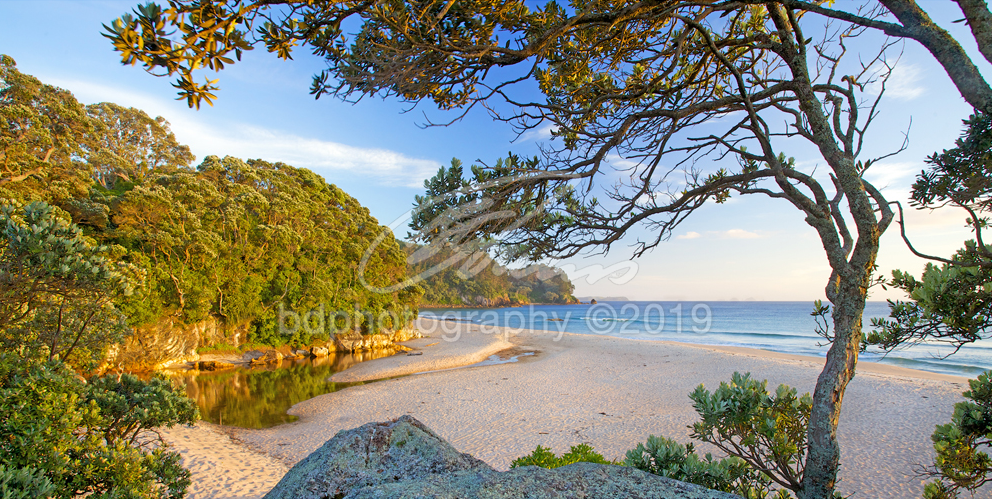
Whiritoa COR396 - 2:1 ratio
Whiritoa COR382P - 3:1 ratio
|
Whiritoa COR130 - 2:1 ratio
|